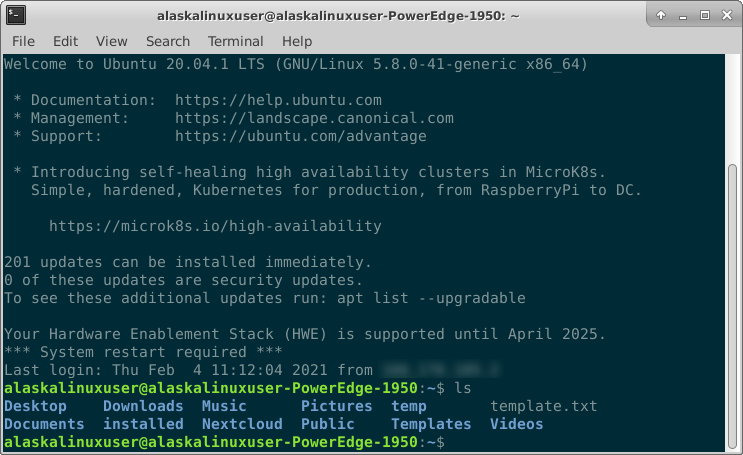
There are already a lot of great guides for setting up LAMP on your computer. For those who don’t know, LAMP stands for Linux, Apache, MySQL, and PHP. One of the best I’ve seen was this one from Digital Ocean. Of course, in the last post I mentioned that I already installed Linux – Ubuntu 20.04 to be precise, so I didn’t need to go through that step and could go straight to installing Apache2. For me, the commands looked like this to install Apache2:
    1  ifconfig
    2  sudo apt install net-tools
    3  ifconfig
    4  sudo apt install -y apache2 apache2-utils
    5  systemctl status apache2
    6  sudo systemctl enable apache2
    7  apache2 -v
    8  sudo iptables -I INPUT -p tcp --dport 80 -j ACCEPT
    9  sudo ufw allow http
   10  sudo iptables -I INPUT -p tcp --dport 443 -j ACCEPT
   11  sudo ufw allow https
   12  sudo chown www-data:www-data /var/www/html/ -R
   13  sudo apache2ctl -t
   14  sudo nano /etc/apache2/conf-available/servername.conf
   15  sudo apache2ctl -t
   16  sudo a2enconf servername.conf
   17  sudo systemctl reload apache2
   18  sudo apache2ctl -t
In summary, these commands are to install apache2, start and enable the apache2 service, open up the firewall, and change ownership of the directory for the website. The key parts being to make sure your firewall rules allow for http and https traffic (80 and 443, respectively).
After getting apache2 installed, I needed MySQL, or in my case, mariadb. That went like this:
   19  sudo apt install mariadb-server mariadb-client
   20  systemctl status mariadb
   21  sudo systemctl enable mariadb
   22  sudo mysql_secure_installation
   23  sudo mariadb -u root
   24  mariadb --version
Again, the idea is to install it, enable it, and then set up your password.
Finally, I then installed PHP, like so:
   25  sudo apt install php7.4 libapache2-mod-php7.4 php7.4-mysql php-common php7.4-cli php7.4-common php7.4-json php7.4-opcache php7.4-readline -y
   26  sudo a2enmod php7.4
   27  sudo systemctl restart apache2
   28  php --version
   29  sudo nano /var/www/html/info.php
Essentially, we just install PHP, enable it in apache2, and we are good to go!
Great! Now that my LAMP server is set up, I’m ready to install NextCloud!
Linux – keep it simple.