If you are following along from my previous posts, you know that I have been hacking this “retro game stick” all in wonder console that you plug into the TV and play thousands of games with built in emulators. Technically we met the goal already, which was to get rid of a bunch of useless games and add some other ones. In the end, I have a total of 4376 games on this retro device, ready to rock and roll and play games with the kids.
It is probably wise to stop there.
But that would be boring.
So, I made another backup and started playing with the miniGUI.
It turns out, if you are at all familiar with Android resources, this works in a similar fashion and allows you to edit the “res” folder and change everything from the look to the text displayed.
So put in your SD card and mount/open the 51 GB partition. You will see a folder called minigui, this is the folder that controls how you select games, and in particular, controls how it looks/sounds/reads while you select those games.
There is a “res” and “res-” folder, just ignore the “res-” folder. I believe it is the default which is overwritten by the appropriate “res” folder information depending which language, mod, and type gets loaded. In the “res” folder are several useful folders where you can edit anything and everything. Some of the folders have duplicates with slightly different names, like “images”, “images-game-93″, images-game-stick-lite”, and so on and so forth. If you look through these folders you will see they contain the same files, but built for different units. Some of the image files, for instance, will look like what you see on the screen when you load up the system, and some do not. The ones that do not are for other devices and are not used by this configuration, and they can be ignored.
So, now the fun begins!
The first thing I did was change some of the words. For instance, the text “list” showed all the games, so I changed the text in the strings folder file: EN-UTF8.bin, from the word “list” to “All”. I also changed the text “collection” to “Faves” and “class” to “Type”, because these are words that made more sense to me. Make sure you back all of this up before making edits, as I once got off by a line and everything was the next word in the file, rather than the proper word. So be careful!
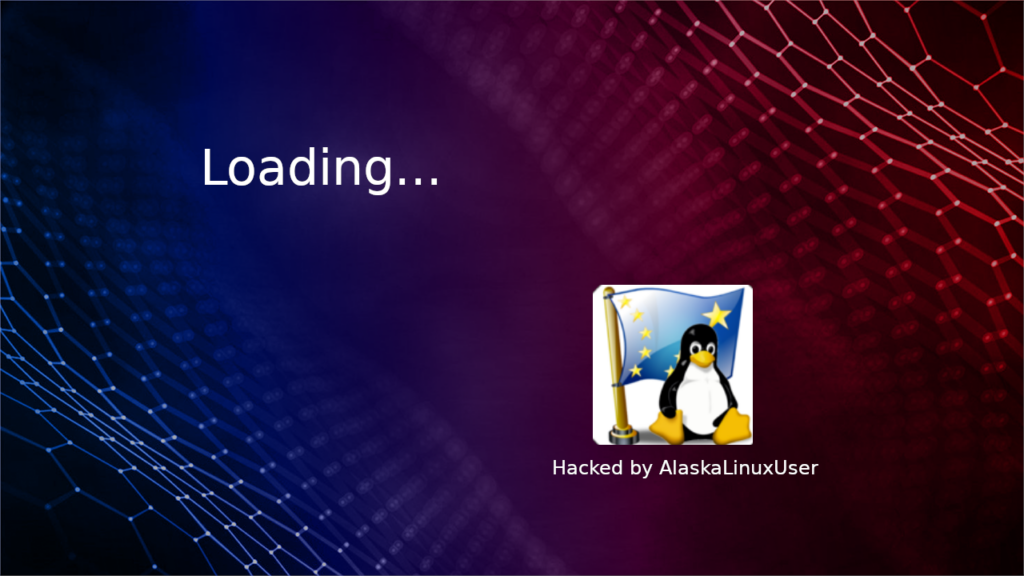
Now that it said what I wanted, I made several edits to the graphics. As you can see in the post picture, I added my own personal logo to the loading splash screen so I that people who used it knew that I modified it. I did this by finding the load_bg.png and play_bg.png files in the image folder. If you don’t know which image folder to edit, I recommend you just edit one and copy it to all of them, because then it will work no matter what.
I also wanted to change the boot logo:

And there was a file called boot logo in the folder, but this was not the actual boot logo for the device. For this you need to open the “Volumn” partition, where you will find the bootlogo.bmp file. I just stole theirs, edited it with the words “Hacked by AlaskaLinuxUser” in bright red, saved it, and put it back in that partition. Now when you turn on the device, you get the new loading logo with my red text written on it.
There was also a “game_desktop” file in images that is loaded on the main screen while you are picking a game. I decided to change it to something more kid friendly, and went with Tailspin and Sonic 2 side by side.
Since I was using the Game Boy folder for both regular and color games, I edited the Game Boy icon to have both the regular and color Game Boy’s on the icon. I also put a red X over the icon for the old Game Boy Color space, so I could experiment with using a different emulator later. As a future project, I am hoping to add more emulators and see if I can add more types of games.
Overall, it is very easy to change anything you want visually, and you can also change the sounds with the music and music2 folders. They have easy names like: button3.wav, etc. Just leave the name the same, but put in your new sound. This will not affect games, just the miniGUI while you select games.
There is also a font folder, where you can change which fonts are used. The possibilities of customization seem pretty endless, actually. And finally, there is a miniGUI.cfg file in there, where everything that is used is mapped out and specified, there are tons of options that are commented out, which gives you a lot of ideas to work with!
I kept my edits fairly simple, as I am not super artistic, but I could see someone else taking this much farther, even having “skins” or different configurations. I think I’ve spent more time, and gained more entertainment from hacking this thing then using it!
Linux – Keep it simple.
Hah, all these hacks to a random little game emulator are great. Thanks for sharing the processes! Sometimes I wish I were more into retro console gaming to take advantage of this sort of thing. My preferences range only to old PC games, from the Win 9x era, so dosbox-x has me covered there.
I think it’s really cool that this sort of device is hackable, and not locked down with some cryptographically signed baloney.
Thanks! Yeah, I sure like a lot of those old Win9x games myself, like Lords of the Realm 1&2, Dune2, MechCommander, etc., but this is much “easier” by just plug’n’play to the TV and instant fun with the kids!
What firmware is your gamestick? mine is Segam m8 v3.0. Just curious if yours is the same or different!