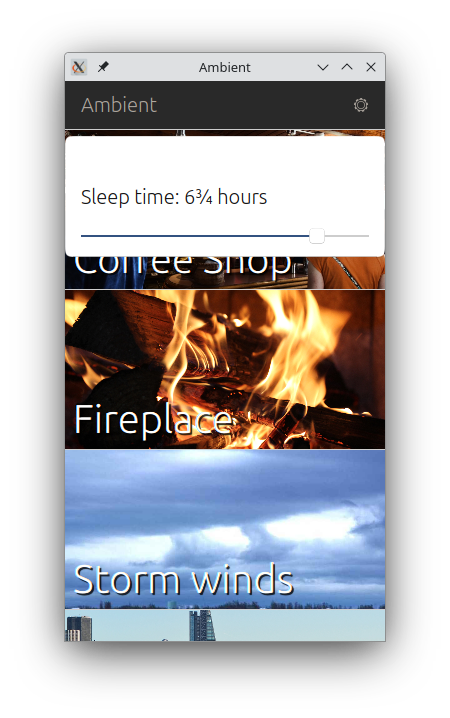
If you have not read my previous post, I recommend you start there, because this is a multi-post challenge to remove and add games to a “retro game stick” that I bought. Hopefully we will do a few other hacks as well, but we will see how it goes!

Previously, we discovered that the retro game stick is relatively straight forward with a multi-partition SD card that is removable. On this card are several partitions, and the most important is the 51 GB partition holding all of the games. We removed a lot of games we didn’t want or need, but that didn’t seem to help when we fired up the system, it still showed them all as “there”.

Then we used the file command to figure out that the “sj.a” file was actually an SQL database, and we installed sqlitebrowser so we could view and edit it. That should bring us up to date in our story. The most important thing you can do right now is make another copy of the database for the original backup, which is what I did, you will need it!

The next thing I did was look through the tables to try to figure out what they all do. At first, I opened the tbl_en table, and saw that all of the games were listed there by their English names. The tbl_ko seemed to be the same list but by Korean names, and the tbl_zh was for Chinese names. There also was a tbl_tw for Taiwan names, and a tbl_match that seemed to match zh names to English names.

I thought this would be the easy part, and it was, but not the way I did it at first. At first, I simply deleted the first 10 records of the tbl_en and wrote my changes and loaded up the system again. My hope was that the first 10 games would be gone from the list, and they were, but not how I thought. Now all the games were 10 rows out of sync with the game they should be!

The way this needs to work is this:

The tbl_game table shows a record for each game. In these records their are fields for the names and fields for the path to load the game, and then a field for the correlating record in the tbl_en, tbl_ko, and tbl_zh, so depending which language you selected, it shows you the right name. This means that the easiest way to do this is to populate the tbl_game with the games you want, in the order you want, then edit the tbl_(language) to match your tbl_game order. They don’t have to be in the same order, but it sure makes life easier.

As always, there is more than one way to do anything in Linux, but rather than hand type the whole list, or go through the records one by one, deleting unwanted records, I used some command line fu to make my list:

$ find ./*.A* |tee ../atari.txt
$ cd ../cps/
$ find ./*.z* |tee ../cps.txt
$ cd ../fc/
$ find ./*.nes* |tee ../fc.txt

I went to each game directory (of the copy on my hard drive) and used the find tool to find all of the games in that directory. For the atari, all the suffixes start with a capital A, the cps, or arcade games all have a lowercase z, and the Nintendo games end with nes. This gave me lists that looked like this:

./Yu-Gi-Oh! - Dark Duel Stories (U).gbc
./Zebco Fishing! (U).gbc
./Zidane Football Generation (E) (M5).gbc
./Zoboomafoo - Playtime in Zobooland (U).gbc

To which I used the text editor and the replace command to replace all “./” with nothing, hence removing it. And then again to replace all “.gbc” (in this game boy color example) with nothing to remove them. So it would look like this:

Worms Armageddon (E) (M6)
Worms Armageddon (U) (M3)
WWF Attitude (U)
WWF Betrayal (U)
WWF WrestleMania 2000 (U)
Xena - Warrior Princess (U) (M6)
X-Men - Mutant Academy (U)
X-Men - Mutant Wars (U)
X-Men - Wolverine's Rage (U)
Xtreme Sports (U)

Finally, I just used cat to read all of these text files into one big file.

$ cat *.txt >> newfile.text

After which, I litterally opened the newfile.text file and selected all, copied to the clipboard, and then opened the tbl_en in sqlitebrowser. I clicked on the name field of record 1, and hit ctrl-p to paste in my list of names. This took a minute for my old laptop to perform, but after a write and save, the first 4374 rows now were my current list of games. I simply deleted every record in the tbl_en table after record 4374. I wrote my changes, saved the database, and then did the exact same thing for tbl_ko, tbl_tw, tbl_zh, and tbl_match.I then wrote the changes and saved the database.

That was the easy part. The next part requires a little bit of planning and forethought:

Next I opened the tbl_game table, and again clicked on the name field of record 1, and pasted in my huge list. Again, this took a minute, but eventually the first 4374 rows were populated with the games I wanted. I then wrote the changes and saved the database.

This leads to the tricky part. Fortunately for me, I put them in order, all Atari games, then all Arcade games (cps comes after atari, if you wonder why the inconsistent order), then all Nintendo (fcs) games, all Game Boy games, etc.

Each record contains these fields:

gameid, game, suffix, zh_id, en_id, ko_id, video_id, class_type, game_type, hard, timer

The gameid, zh_id, en_id, ko_id, and video_id for each record should match. E.g., gameid 2, zh_id 2, en_id 2, ko_id 2, and video_id 2. Whatever gameid says, these other fields should match exactly, or you will not get the proper name and video/pictures for them.

The suffix field should match the suffix of the game in question. This is easy for all of the Nintendo games, they all have a “.nes” suffix. So I simply edited each of those lines to say .nes in them. The arcade games are all .zip, the Game Boy games are .gb, and so on. This is not as easy for the PlayStation games, which are .bin or .img, and the Sega games can be .bin or .smd as well. The worst are the Atari games, which have .A26 and .A78, but I only had 20 of those games left, so it wasn’t too hard. Make sure the right suffix is there, or it will not load your game.

Next is the class_type field. The class_type field is used when you choose to show all Super Nintendo games, or Arcade Games, or Sega games, and only those games. It sorts through the list and list the games of that “class” or type of game. If you get these wrong, you will not see your games when you look for all of the games of that class. This is a table I put together to help me:

A26 Atari	15
A78 Arcade	17
zip Arcade	0
nes Nintendo	1
.gb Game Boy	2
gba GB Adv	3
gbc GB Color	2*
smd Sega	5
bin Sega	5
sfc SuperNES	6
bin PS1		4
img PS1		4
PBP PS1		4

* The Game Boy Color could be it’s own class, but I put them in with the regular Game Boy games and used the same class. I did this so I could use the Game Boy Color slot/tile in the GUI for other hacky things. You don’t have to do this. It could be 7.

The next field is game_type, which tells us which emulator to use to run the game. If you have the wrong number, it will try to load the game with the wrong emulator, which will not work. Here are the values:

A26 Atari	15
A78 Arcade	17
zip Arcade	0 or 18*
nes Nintendo	1
.gb Game Boy	7
gba GB Adv	7
gbc GB Color	7
smd Sega	5
bin Sega	5
sfc SuperNES	6
bin PS1		9 or 26*
img PS1		9
PBP PS1		9

* These games had different codes, and for them, you need the original backup you made and find that game and use the appropriate emulator number for it. I don’t know what the difference is, but some PS1 games needed the other emulator, and some arcade games also needed a different emulator. This part was tedious.

Next is the “hard” field, which some games had a number in them, but for the most part, 99% of the games had a 0 in this field. I am not sure what this field is for exactly, but I believe it was a hardware choice, perhaps to choose a special config file for using that rom. I put all of mine to 0, and all of my games (that I have tested so far) work. If in doubt, make this field 0.

The final field is “timer”. This has nothing to do with time or a clock. It is the path to the folder with the rom in it. All of them start with /sdcard/game/ and then the folder with the games in it. Here is another table of values for you:

Atari: /sdcard/game/atari
Arcade: /sdcard/game/cps
Nintendo: /sdcard/game/fc
Game Boy: /sdcard/game/gb
Game Boy Advanced: /sdcard/game/gba
*Game Boy Color: /sdcard/game/gbc
Sega: /sdcard/game/md
PlayStation: /sdcard/game/ps1
Super NES: /sdcard/game/sfc

* Granted, you could use the Game Boy Color directory, I just put them in Game Boy with the game boy games. You could do the same with Game Boy Advanced, too.

After all that editing, make sure you write often, save often, and double check your work! Now to add games is trivial. Put the game rom in the proper folder, and add a record to the end of the table (or in the middle, if you want, I just put them at the end for simplicity). I added several PlayStation games, like Final Fantasy Anthology and Mega Man X 5. Just make sure you add an entry on each table: tbl_en, tbl_ko, tbl_game, etc.

After all of these changes, I wrote all of the “games” folder from my computer to the card. And, after loading it up, it worked! Now you have just the games you chose on the list! They are searchable, and can be brought up by using the “class” or type of game console option.

But, I felt like there was still more fun to be had, so tune in next time for how I changed the words and look of the miniGUI interface….

Linux – keep it simple.

Leave a Reply

Your email address will not be published. Required fields are marked *