As I wrote about a few days ago, I recently undertook the task of performing a major systems upgrade of my home server system. Today I wanted to talk about the upgrades and changes to the hardware setup.
Originally, I was running my home services (Nextcloud, Jellyfin, gemini, web servers, etc.) on a Dell Poweredge T620. It had 128 GB of RAM and two Xeon E5-2630’s. This server also had two raid arrays, one was a mirrored 540 GB set of two drives for the operating system, and the other was 12 drives in a raid 6 for a total of 3.6 TB of space for data. This was working really well, but I didn’t have a very good backup, because I was using a Dell Poweredge R520 with only 32 GB of RAM and a completely different set of drives and raid array as the fall back machine.
The R520 was powerful enough to handle the workload, but the problem was in the different drives and hardware, it was tedious to perform full backups and write them to a completely different machine. So I decided to use the two R520s I had available and make them identical, instead. That left me with two R520s that each had 48 GB of RAM, 2 Xeon E5-2440 processors. With identical servers, things like full backups would be much easier to implement now.
However, I did manage to pick up sixteen 8 TB hard drives, to which I put eight in each R520. This allowed for two raids on each server, the first being a mirrored set of drives for 8 TB total space for the operating system and home partition, and then five drives at raid 5 for a total of 32 TB of space for data. The last 8 TB drive in each server was slated to be a Global Hot Spare, designed to take over if any drive fails in either raid array.
While overall this did step down my available RAM a bit, 48 GB is still plenty to handle my low load. The T620 was also used in the past for building Android variants, but I don’t do much of that anymore, so I don’t think I need quite so much RAM for my use case. I of course spent a lot of pre-upgrade time reviewing logs and looking at resource use to make sure this would be alright, and the RAM usage never reached 10 GB under normal use, typically sitting around 5 GB at any given time, so 48 GB is plenty of RAM.
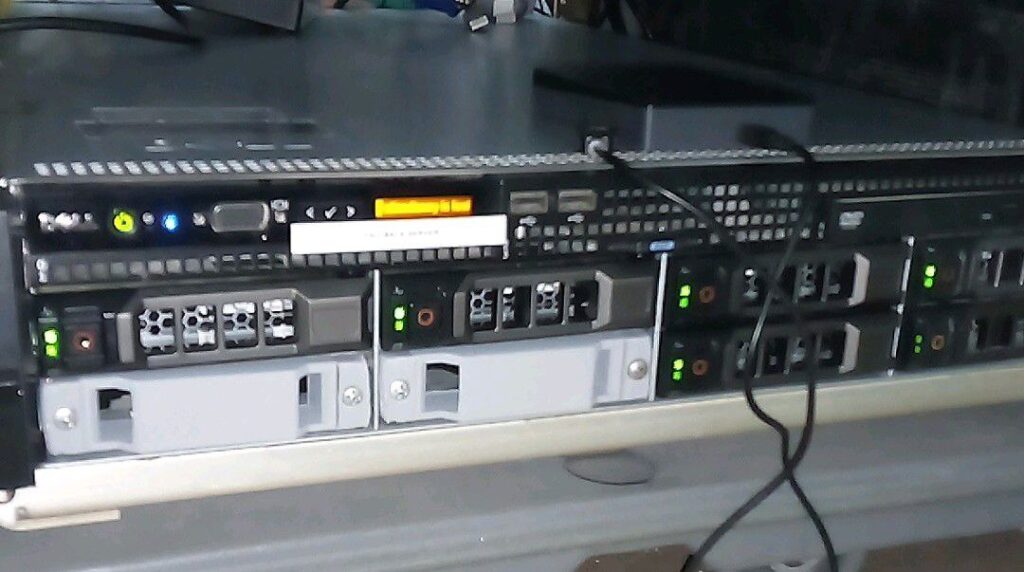
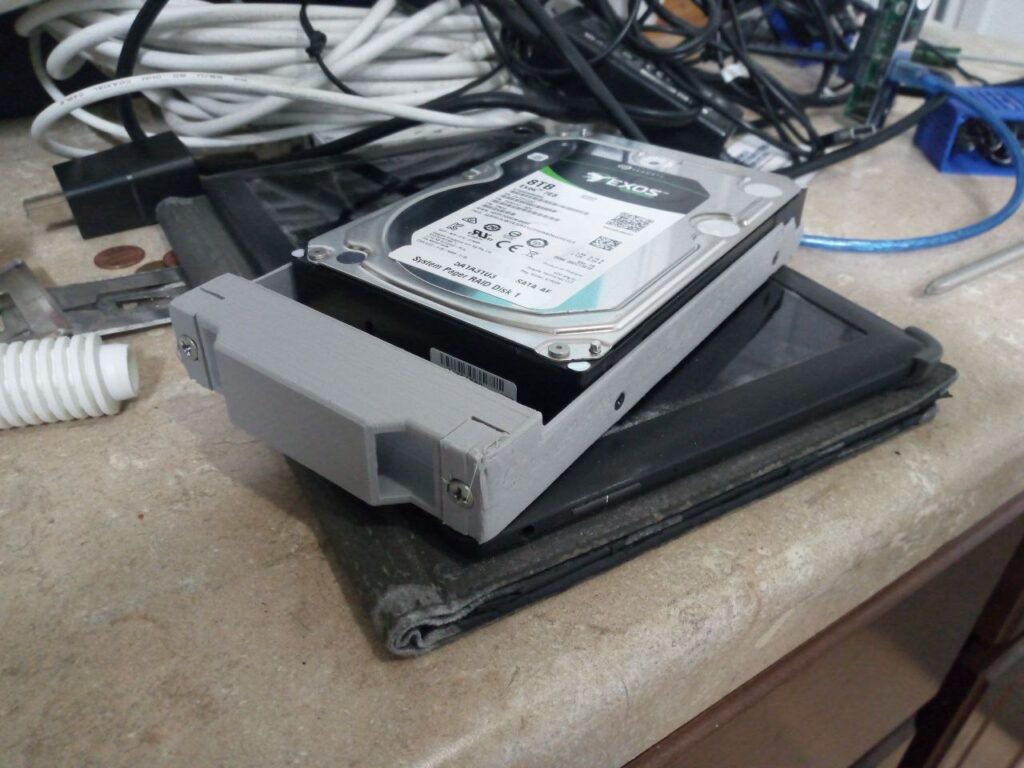
One thing I did need, though, was more drive trays. I bought a four pack of drive trays, but still needed 2 more, as most of the drive bays just had the cheap plastic cover to look nice, but didn’t actually have a drive tray in them. I decided instead of buying more trays to look into 3d printing some. There were several available on Printables and Thingverse, and I finally settled on one.[1]
It printed in three parts and I screwed them together, per the design. Some people also glued them, but I forwent that, figuring the screws would be enough. Overall it wasn’t super pretty, but they work surprisingly well. The only major complaint is that there are no drive lights visible, so you don’t know if they have any activity. Still, they printed quickly and worked well enough, so I went with them. I do wish I had printed them in black though.

The screw mount holes came out flush when using the proper screw for the hard drive, and they slid in and out fairly easy, yet have enough tension that they feel secure, despite not having a lock.
Now that I had two identical servers set up, it was time to load some software….
Linux – keep it simple.