They say that the folding chessboard was invented by a priest who was forbidden to play chess. This priest found a way to hide his game by making a folding chessboard. When folded together and put on a bookshelf, it looked like two ordinary books. Wow! The lengths people will go through, just to play chess!
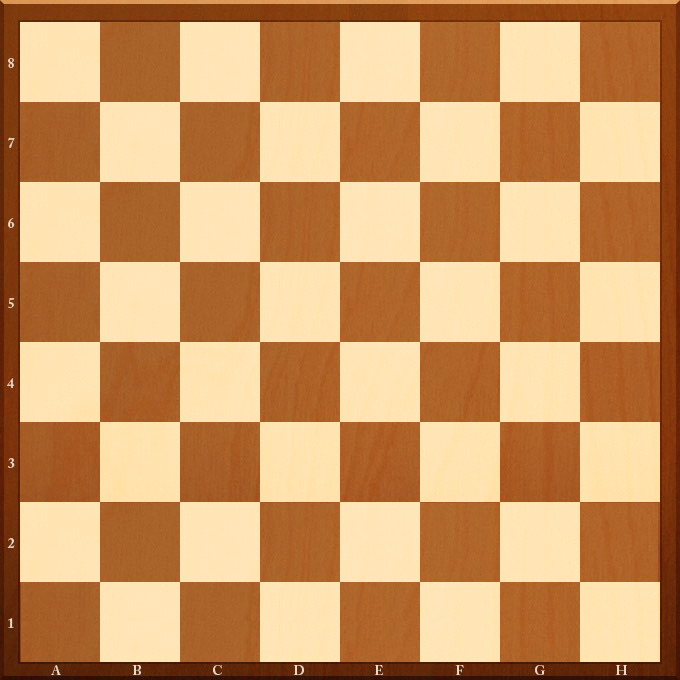
As we continue adding to our engine, we actually don’t need a visual representation of the board for the engine to work. However, by including it, other open source users who want to use the engine can see how it is implemented. It also makes testing the engine easier. Well, at least more fun, because instead of looking at boring logs that are displaying the board as text, the board is visually represented and we can make sure it is working correctly.
The fourth commit in our series is where we added the graphical pieces. I’d like to take a moment to cite my sources and thank them for creating this really great artwork! Not only that, but they are sharing it under the cc license!
The graphical images of the chess pieces came from:
https://www.behance.net/gallery/10018309/Chess-Artwork-Pieces-and-Board-Art-Assets
https://creativecommons.org/licenses/by/4.0/
https://www.behance.net/DaniDiLena
Then, our fifth commit shows how we draw the board through java, rather than through the xml. This allows for dynamically updating our board at any given time. Notice that after “arranging” the board in the layout file, we assign each block a unique id. With this id, we can put alternating color squares, and then top them with either blanks or pieces.
public class TheUserInterface {


public static void drawBoardPieces() {


for (int i=0; i<64; i++) {


switch (theBoard[i]) {

case '*': chessImage[i].setImageResource(R.drawable.empty);

break;

case 'P': chessImage[i].setImageResource(R.drawable.wp);

break;

case 'R': chessImage[i].setImageResource(R.drawable.wr);;

break;

case 'N': chessImage[i].setImageResource(R.drawable.wn);;

break;

case 'B': chessImage[i].setImageResource(R.drawable.wb);;

break;

case 'Q': chessImage[i].setImageResource(R.drawable.wq);;

break;

case 'K': chessImage[i].setImageResource(R.drawable.wk);;

break;

case 'p': chessImage[i].setImageResource(R.drawable.bp);

break;

case 'r': chessImage[i].setImageResource(R.drawable.br);;

break;

case 'n': chessImage[i].setImageResource(R.drawable.bn);;

break;

case 'b': chessImage[i].setImageResource(R.drawable.bb);;

break;

case 'q': chessImage[i].setImageResource(R.drawable.bq);;

break;

case 'k': chessImage[i].setImageResource(R.drawable.bk);;

break;

}

} //Done for loop for drawing board.


} // End draw board pieces


}
Above is the magic that makes adding the pieces a breeze. All this method does is “read” the board, and place an appropriate piece on the number square based on what symbol was in it’s block. For example, the chessImage[] array is holding the unique id of each square of the physical board. It then reads each square of theBoard[] array with the logical board representation, and places white knights on the N squares, and black queens on the q squares. Really simple, really quick. This works well for a style where you don’t have to “move/drag” the pieces, but simply “transport” them from square a to square b.
Linux – keep it simple.
I think I might be spending too much time reading this blog… I’m starting to understand the code snippets! 😉