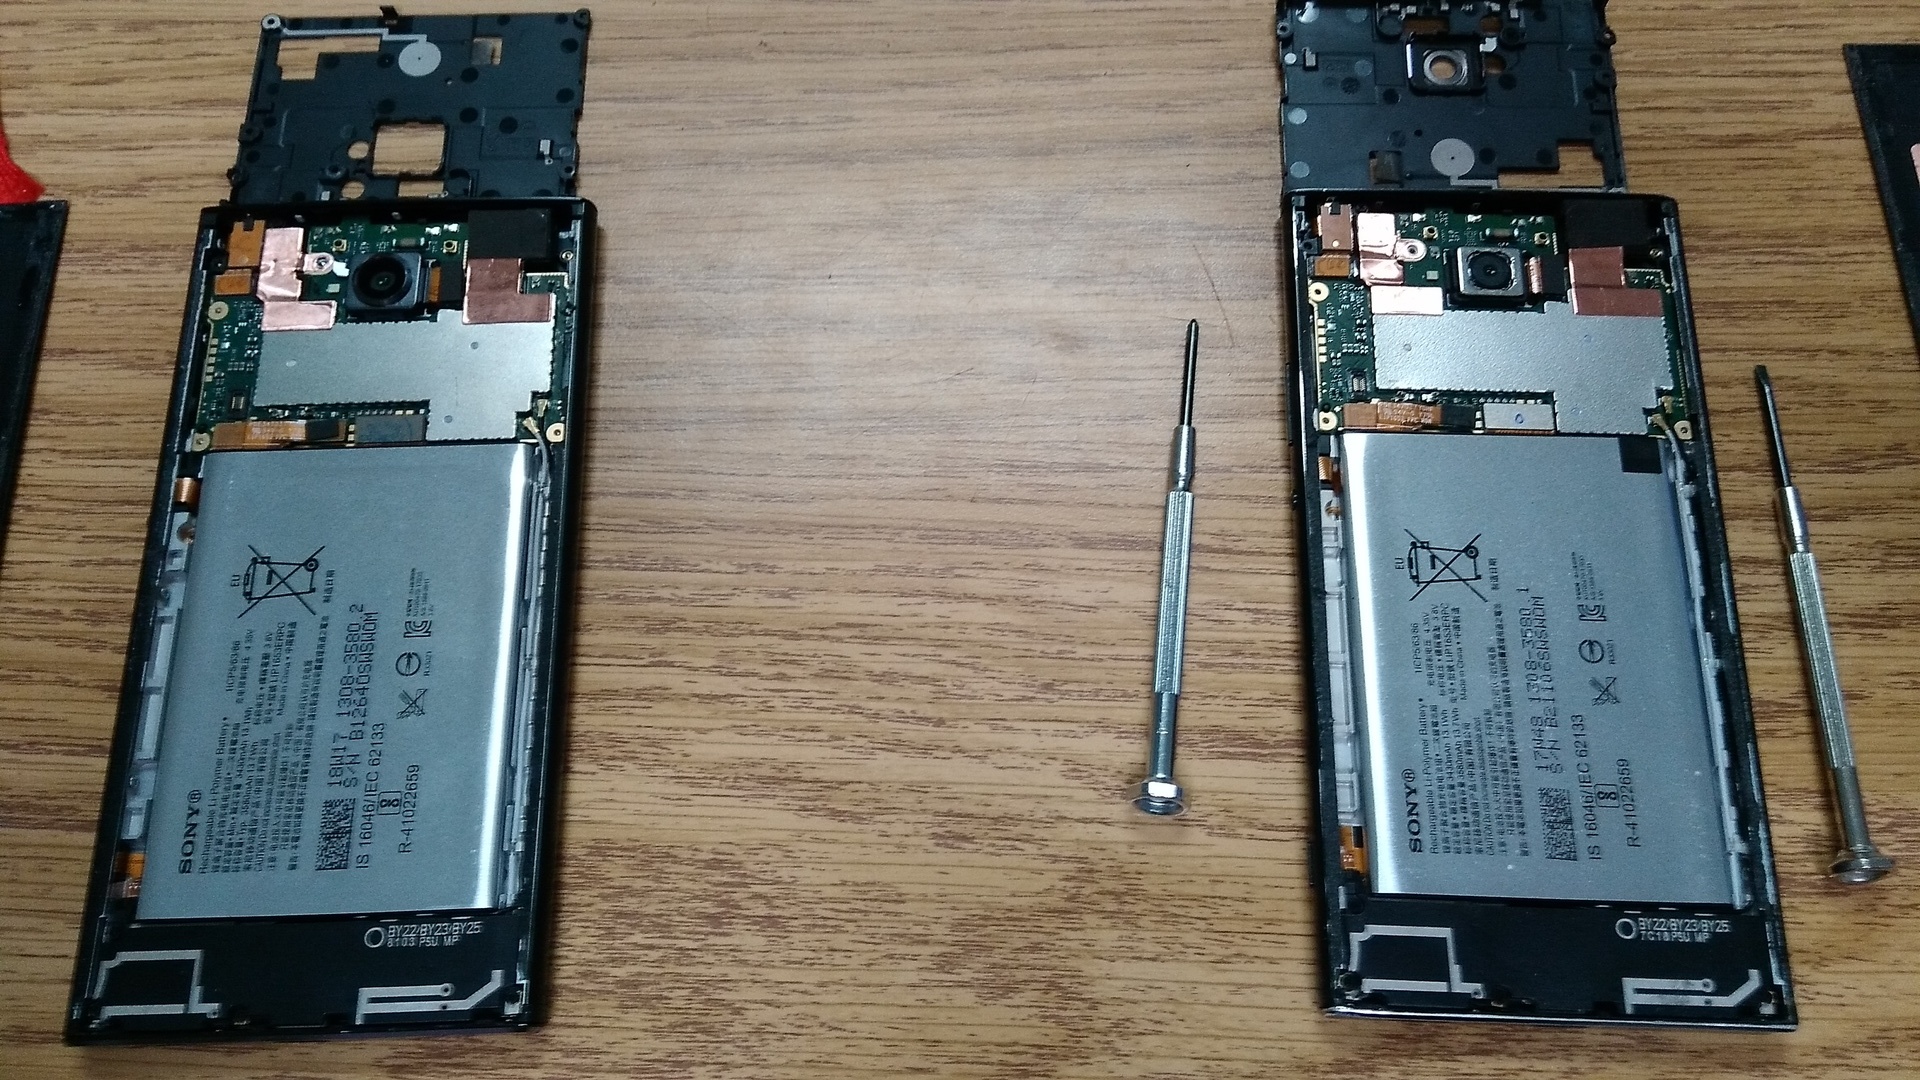
The photo above is not a mirrored image, it is actually two distinct Sony Xperia XA2 Ultra phones.
Whether it is fishing or phones, it all has to start with a story. Unlike fishing, though, this phone story really does start out as a big whopper! I guess I should back track to the beginning….
I was researching a new phone for Mom, and found that the Xperia XA2 Ultra is a really, really great phone. Sure, there are reviewers that were not enthusiastic, and some that were ecstatic, but I really felt that this would be a great phone for my mom. And I think it is. In fact, I liked it so much, that I picked up a slightly used one for myself. All was well.
Then, I decided to ditch the stock rom and start working on some custom stuff, as usual. The first thing I needed to do was test a current custom rom someone else made to make sure things work, and that I understand what’s going on under the hood. That is where things went horribly wrong.
I was following a guide on XDA. Several users had a similar guide, so I figure it must be right. Unfortunately, it not only didn’t work, but following the guide to a “T” bricked my phone. Here’s where I got hung up:
1. Download latest firmware with XperiFirm.
NOTE: When using mono XperiFirm will fail to unpack the firmware, you can do it manually using following commands:Code:for f in FILE_*; do unzip $f; done unzip boot.zip -d boot2. Go to the directory where the firmware got downloaded to and remove following files:
– kernel_X-FLASH-ALL-18AE_0x00.hash
– kernel_X-FLASH-ALL-18AE.sin
– persist_X-FLASH-ALL-18AE_0x00.hash
– persist_X-FLASH-ALL-18AE.sin
– system_other_X-FLASH-ALL-18AE_0x00.hash
– system_other_X-FLASH-ALL-18AE.sin
– system_other_X-FLASH-ALL-9B8D_0x00.hash
– system_X-FLASH-ALL-18AE_0x00.hash
– system_X-FLASH-ALL-18AE.sin
– system_X-FLASH-ALL-9B8D_0x00.hash
– userdata_X-FLASH-CUST-18AE.sin
– vendor_X-FLASH-ALL-18AE_0x00.hash
– vendor_X-FLASH-ALL-18AE.sin
– vendor_X-FLASH-ALL-9B8D_0x00.hash
3. Turn off your phone, hold vol dn and plug in the USB cable, the screen should be off and green LED lit.
4. Run Newflasher, it’ll flash entire FW to your current slot then unplug the USB cable and power on your phone.
5. Turn off your phone, hold vol up and plug in the USB cable, the screen should be off and blue LED lit.
6. Enter this command: `fastboot getvar current-slot`, it should return something like this:
current-slot: _b
Finished. Total time: 0.001s
7. Now switch to the opposite slot by entering command: `fastboot set_active a` if the current slot is `_b` or `fastboot set_active b` if its `_a`, you should see this:
Setting current slot to ‘a’…
OKAY [ 0.012s]
Finished. Total time: 0.014s
or
Setting current slot to ‘b’…
OKAY [ 0.012s]
Finished. Total time: 0.014s
8. Unplug usb cable and repeat steps: 3, 4
9. Profit?
At step 7, I was supposed to switch to the other slot. So I did, but when I unplugged the USB cable and repeat steps 3 and 4, it bricked the phone on the repeat of step 4. After that, it never booted up. All that happened when plugging it in or pressing any button combo was a triple blink of the green LED, and nothing else.
So, I made a post on the thread asking for help. But there was none to be found. Shortly after my post, others started posting as well. They all had the same issue. So, I take comfort in my misery loving company. Although I wish other’s phones had not also bricked, I was somewhat glad that I didn’t “mess up”, since several others following the instructions had the same results. What went wrong? I really don’t know.
The big question became, how do I fix it? I had about $100 invested in this useless paperweight, so I really wanted to turn a positive result. Thus enter ebay. I started bidding on phones with broken screens. I really just wanted to buy another main board, or motherboard for the phone, but I couldn’t find any suppliers. Eventually, I won a phone with a shattered screen.
The screen may have been shattered, but the phone still turned on and worked, so I simply disassembled the two phones (my brick and the one with the shattered screen) and swapped the main board! Now I had a working phone with the good screen, and I was back in business!
Next, I went about the process of installing Lineage 16 (pie) on the phone. According to the instructions, you have to update your phone to 50.1.A.13.123 to use this version of Lineage, but my phone was already 50.1.A.13.83, so I decided to try it as is, without updating the firmware. Praise God, it worked! So I was able to unlock the bootloader, boot TWRP, and flash LineageOS 16!
WARNING: This worked for me on software 50.1.A.13.83, but I don’t think it works if your software version is 50.2+! Try this at your own risk. I can’t promise that it won’t brick your phone.
Here’s what I did:
- Went to Sony’s Unlock Bootloader section of their website and followed the specific instructions there to unlock the bootloader. You have to input your IMEI to generate a code that you use to unlock it in fastboot.
- Downloaded TWRP for “discovery” (the nickname for XA2 Ultra).
- Turned off my phone, held Volume up and plugged in the USB cable, which turned it on and put it in fastboot mode.
- Typed fastboot boot ./twrp-3.2.3-0-discovery.img
fastboot boot ./twrp-3.2.3-0-discovery.img
downloading ‘boot.img’…
OKAY [ 1.431s]
booting…
OKAY [ 5.131s]
finished. total time: 6.562s
- The phone rebooted into TWRP. I suggest making a backup at this point. I did, and copied it to my computer.
- Download the latest LineageOS 16 (pie) rom for your XA2 Ultra. I used the 20190621 nightly, and it worked great for me.
- Then, since I was ready to install LineageOS, select wipe, advanced, and wipe everything, then format data! Really important, if you don’t format data, you can’t boot lineageOS, as it will hang trying to unencrypt the data directory.
- Still in TWRP, go to advanced, and select sideload.
- On the computer, type:
adb sideload <name_of_lineage_zip.zip>
- It will show a type of progress bar, and then will tell you when it is done. Don’t be alarmed if it “hangs” for a few minutes at the end, that was normal for me.
- Reboot to system and enjoy LineageOS!
So, after a test run, I went back into TWRP, from fastboot, and flashed Magisk v19.3, and that worked great as well. I didn’t try Gapps, since I am actually going Gapp-less again. But that’s another post for another time….
Hopefully this was helpful for you. It was a lengthy process for me, and not optimal to say the least. If you do go this route, I will note that the Xperia XA2 ultra has been phenomenal for me. The battery life on Pie is incredible, the camera (that everyone loves or hates) is the best I’ve ever used, and I love it so far!
Linux – keep it simple.
I liked the story! I’d love to hear any good fishing ones you have, too. 😉
There was that one time that someone stole my good hook while distracting me with a candy bar…. 😀
Well stepped thru this but because I had the phone locked on with a pin (which i had forgotten) with Sailfish OS on it I was hopped! Used Emma to firmware update unit and then Sony Companion and WOW, I have a phone back, not data on it with Sailfish so no loss. Thanks for the steps and story, always seems to take a lot of time!!!!!