So, in the continuing saga of learning about Bluetooth, I am breaking down some transmissions of Bluetooth signal from my Android phone to the Bluetooth auto start that I built.
- On my Android phone, I went to Settings -> Developer Options -> Enable Bluetooth HCI snoop log. Now my Android phone was creating a dump file on the sdcard of all Bluetooth traffic.
- I opened my app, connected to the auto start, and promptly started the truck, and shut it down. Then I waited about 3 seconds, started the truck, and shut it down. Then I disconnected and reconnected 4 times to the auto start.
- I turned off the Bluetooth snoop log and then transferred the file to my computer for analysis.
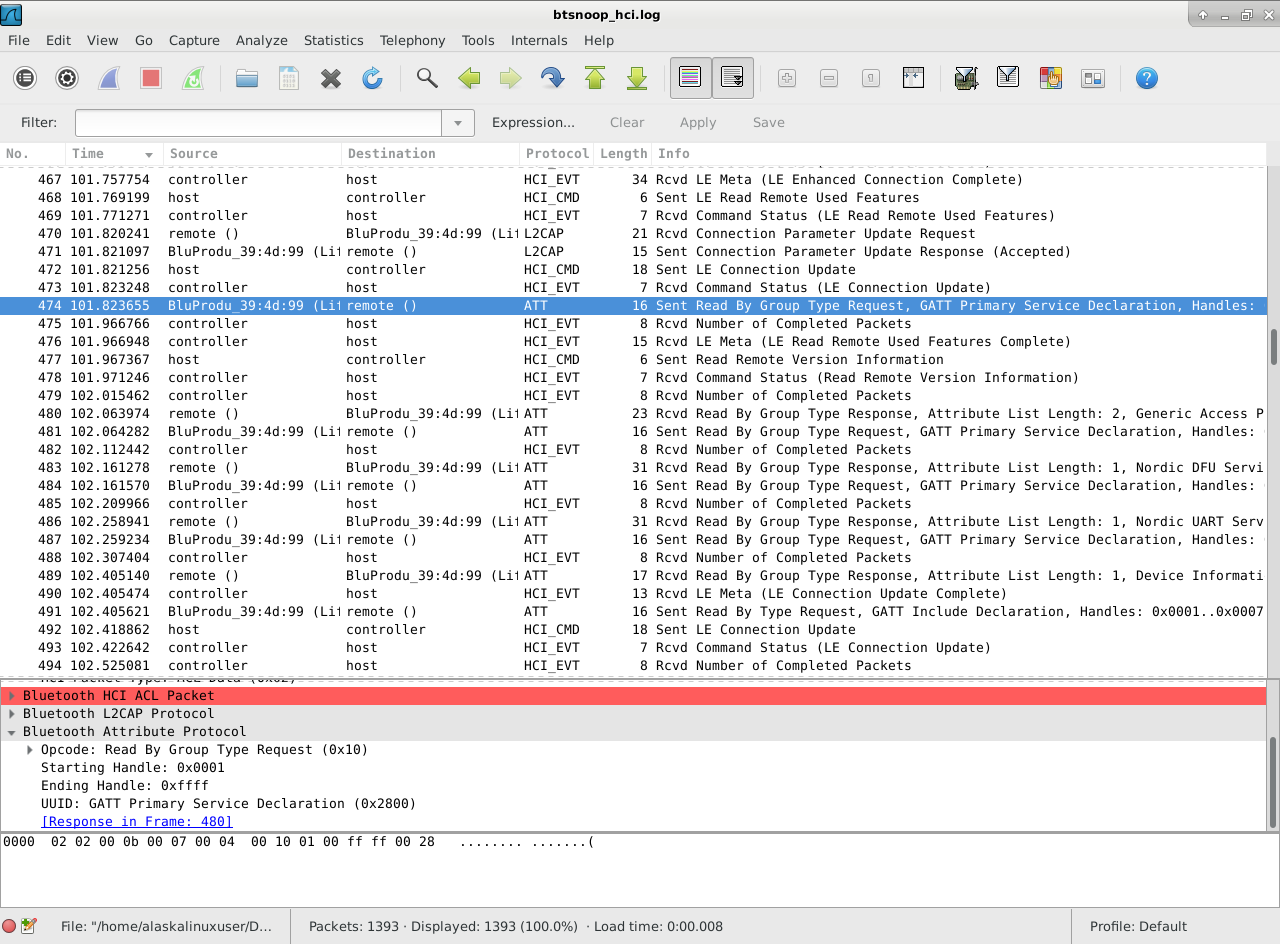
- Finally, I opened the file with WireShark, and started reviewing the packets.
From what I understand, the ATT protocol is one that sends and receives actual commands to and from the controlling application to the BLE board itself. So, I sorted the output and looked specifically at the ATT protocol packets.
Further research has lead me to believe that I need to look for btatt.opcode, particularly 0x52, which is for the write command. I found 8 packets that held this special designation.
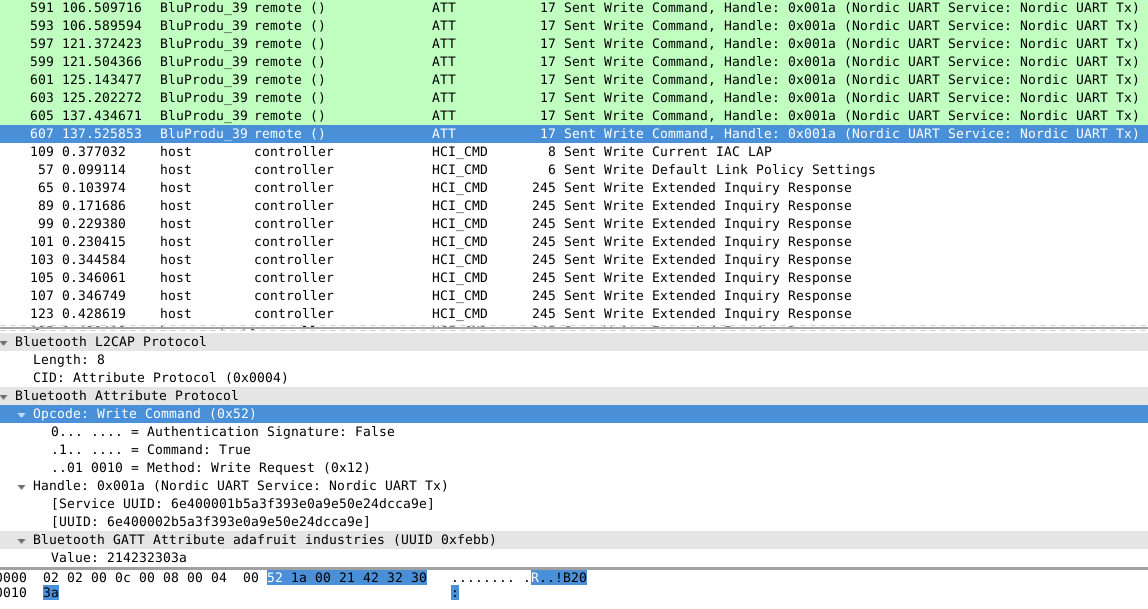
In these packets are values. In order of appearance, they are:
21:42:31:31:3a
21:42:31:30:3b
21:42:32:31:39
21:42:32:30:3a
21:42:31:31:3a
21:42:31:30:3b
21:42:32:31:39
21:42:32:30:3a
Which would correspond to my bluetooth device code of:
// Buttons
if (packetbuffer[1] == ‘B’) {
uint8_t buttnum = packetbuffer[2] – ‘0’;
boolean pressed = packetbuffer[3] – ‘0’;
Serial.print (“Button “); Serial.print(buttnum);
if (pressed) {
Serial.println(” pressed”);
//bluart.print(“pressed”);
analogWrite(19, 50);
} else {
Serial.println(” released”);
analogWrite(19, 0);
}
if (buttnum == 1) {
// Turn on vehicle, by turning on accessory, fuel pump,
// and start timer to crank.
digitalWrite(7, LOW);
digitalWrite(16, HIGH);
startTimer = 5; // Delay time before cranking.
startAttempts = 3; // Number of tries to start.
} else if (buttnum == 2) {
// Turn everything off from the button.
digitalWrite(16, LOW);
digitalWrite(15, LOW);
digitalWrite(7, HIGH);
digitalWrite(11, HIGH);
crankTimer = -1;
startTimer = -1;
runTimer = -1;
startAttempts = -1;
Serial.println(” Kill All – Button pressed. “);
}
}
That’s right! Now we can interpret the signals!
21:42:31:31:3a – Button 1 pressed!
21:42:31:30:3b – Button 1 released!
21:42:32:31:39 – Button 2 pressed!
21:42:32:30:3a – Button 2 released!
That’s great! Now we can use a low level tool like gatt to send the command itself, without the whole interface! Now I just need to implement it!
Linux – keep it simple.