I’m not entirely new to the Arduino scene, but I’m certainly not an expert. With that, I’ve decided to pick up a few “toys”, such as shields and attachments for the Arduino with the hopes of using them to learn more about this handy little tool. One of those toys was an LCD keypad shield.
Essentially, it is an LCD display with 6 buttons. One of the buttons is the reset button for the Arduino, and the other 5 are labeled and arranged as up/down/left/right and select. As usual, before making any of my own projects with a new piece of equipment, I like to follow through someone else’s tutorial and see how everything works, and give the hardware a positive test.
That said, I followed the tutorial from dfrobot. It was very informative and worked like a charm. Essentially, when you push a button, it displays the button name on the LCD screen, giving a great hardware test of both the screen and buttons, but also showing how the shield works.
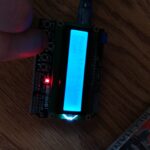
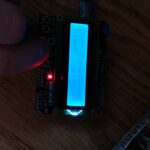
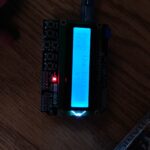
A couple of small notes for the uninformed, like myself, when I first powered it on, the LCD backlighting was bright, but nothing displayed. The potentiometer on the top left of the board is labeled as “brightness” on the diagram I saw, causing me to think it controlled backlight brightness. Rather, it controls the intensity of the LCD itself, and was turned all the way down, not allowing the letters to appear. A quick couple of turns with a screwdriver made short work of this problem.
I’m going to make a small “avoid the asteroid” arcade style game on this shield for the learning value. It should be a lot of fun! I’ll keep you posted!
Linux – keep it simple.