In the continuing saga of the Google Photos alternative, by running a home server with Dynamic Domain Name Service (DDNS), very secure FTP (vsftp), and an Apache web server coupled with Piwigo, we’ve automated the entire process of getting the photographs I take with my phone all put on the server and view-able by those we share it with. And, to God be the glory, it even works! But there are still a few more steps to consider, and today I’d like to look at a more secure interface with https.
So, for https, one of the big things you need to have secure http (the language of the web), is a public/private key pair, for assymetric encryption, and a digital certificate, certifying that those keys are in fact yours. There are a couple of ways to do this on the cheap. Of course, you could pay for a domain name and certificate from a company (like VeriSign and others). Or, you can go with a free certificate from Let’s Encrypt. The only problem that I had with them is that they didn’t seem to support DDNS. Perhaps further research is required. But, if you are using a static IP address, with a domain name, then you certainly can do these options.
Another option, no matter what the use, is self generating your certificate. Now, we do have to clarify, most browsers will warn the user that something is wrong when they go to your web page because the certificate is not signed by a “trusted” source. However, since, in my case, my wife and I are the only ones who log in, I think we can trust our own certificate. The benefit to having your own certificate verses not having one is that now we can use https. If we add the certificate as trusted to the browser, then we will be able to know that we are still talking to our own server, as long as the certificate doesn’t change.
First thing we need is mod_ssl:
# yum install mod_ssl
Once that installs, we need to make a directory for our keys and set the permissions:
# mkdir /etc/ssl/private
# chmod 700 /etc/ssl/private
And of course, generate the keys themselves, as well as set Diffie-Hellman parameters on them for more security:
# openssl req -x509 -nodes -days 365 -newkey rsa:2048 -keyout /etc/ssl/private/apache-selfsigned.key -out /etc/ssl/certs/apache-selfsigned.crt
# openssl dhparam -out /etc/ssl/certs/dhparam.pem 2048
# cat /etc/ssl/certs/dhparam.pem | tee -a /etc/ssl/certs/apache-selfsigned.crt
Then, we need to tell Apache, our web server, to use our certificates:
# nano /etc/httpd/conf.d/ssl.conf
Edit as appropriate to point to your new keys and certificate. You can also make a forced redirect to have all http traffic be redirected to https:
# nano /etc/httpd/conf.d/non-ssl.conf
In the file, write this, but replace with your server name:
<VirtualHost *:80>
ServerName yourServerName
Redirect “/” “https://yourServerName”
</VirtualHost>
Now you need to punch a few holes in the firewall for https traffic….
# firewall-cmd –add-service=https
# firewall-cmd –runtime-to-permanent
And restart everything:
# systemctl restart httpd.service
# firewall-cmd –reload
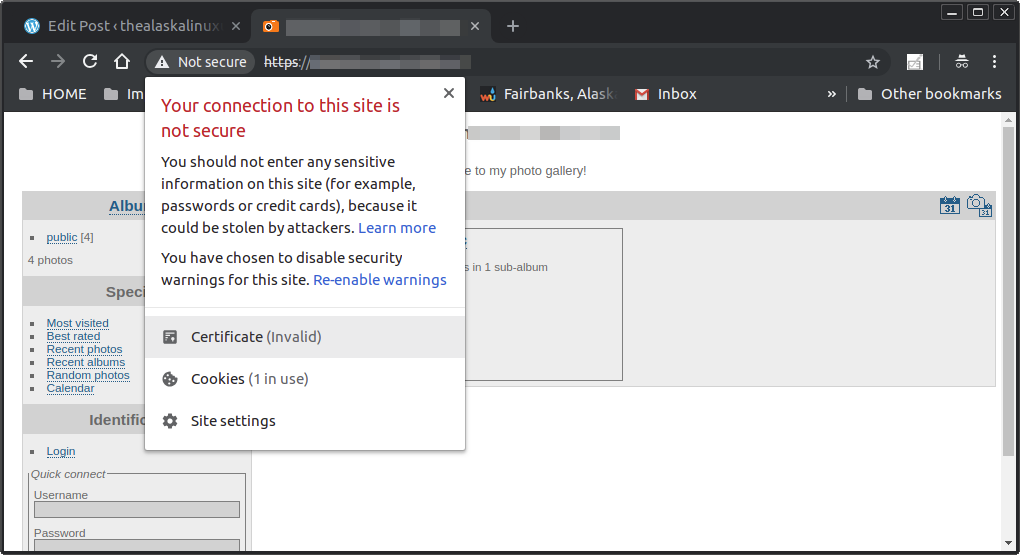
Now you should be able to check out your website via https! Here you can see the warning message I get for my self generated certificate.
Linux – keep it simple.