If you are unfamiliar with μlogger, it is a handy Android application paired with a self hosted server application to keep track of your location. Or, in the author’s own words:
μlogger (‘micro-logger’) is an application for continuous logging of location coordinates, designed to record hiking, biking tracks and other outdoor activities. Application works in background. Track points are saved at chosen intervals and may be uploaded to dedicated server in real time. This client works with μlogger web server. Together they make a complete self owned and controlled client–server solution.
https://f-droid.org/en/packages/net.fabiszewski.ulogger/
You can actually just use the app on your phone to record yourself walking, biking, flying, etc., and then save your track as a gpx file for editing or viewing on any supporting app on your phone. But, if you wanted to save your adventures easily, or keep your adventures updating live for someone you know to view, then you can use the web server application as well. It works incredibly well, and if you are out of cell/wifi range, it will update with your personal server once you return, which is very useful.
The only problem was, while it had clear instructions for installation, they were written for someone smarter than me, so it took a bit of work to get it set up on my home CentOS 7 server. Hopefully, by writing this down, others can save themselves a little bit of a headache.
First, I would like to mention that this assumes you already are running a web server on your machine. In my case, I am running the Apache web server. So, I wont cover web server installing and setup here, but there are some great tutorials for that out there, like this one.
The instructions look like this, per the README.md:
- Download zipped archive or clone the repository on your computer
- Move it to your web server directory (unzip if needed)
- Fix folder permissions:
uploadsfolder (for uploaded images) should be writeable by PHP scripts - In case of development version it is necessary to build javascript bundle from source files. You will need to install
npmand runnpm installandnpm run buildin root folder - Create database and database user (at least SELECT, INSERT, UPDATE, DELETE privileges, CREATE, DROP for setup script, SEQUENCES for postgreSQL)
- Create a copy of
config.default.phpand rename it toconfig.php. Customize it and add database credentials - Edit
scripts/setup.phpscript, enable it by setting $enabled value totrue - Make sure you have a web server running with PHP and chosen database
- Open http://YOUR_HOST/ulogger-server/scripts/setup.php page in your browser
- Follow instructions in setup script. It will add database tables and set up your μlogger user
- Remember to remove or disable
scripts/setup.phpscript - Log in with your new user on http://YOUR_HOST/ulogger-server/
- You may also want to set your new user as an admin in config file.
- Folders
.docker/and.tests/as well as composer files are needed only for development. May be safely removed.
The biggest headache that I ran into was that the minimum requirement was for PHP 5.5, and CentOS 7 only comes with PHP 5.4 by default. However, that was easily fixed as root:
yum update
yum install https://dl.fedoraproject.org/pub/epel/epel-release-latest-7.noarch.rpm
yum install http://rpms.remirepo.net/enterprise/remi-release-7.rpm
yum install yum-utils
yum-config-manager --enable remi-php55 [Install PHP 5.5]
yum-config-manager --enable remi-php56 [Install PHP 5.6]
yum-config-manager --enable remi-php72 [Install PHP 7.2]
yum install php php-mcrypt php-cli php-gd php-curl php-mysql php-ldap php-zip php-fileinfo
This updated PHP to version 7.2, so you could skip that line if you didn’t want it, but I figured it might save me from having to update it in the future, so I went with it. Note that I did have to test out my other server functions that use PHP to make sure they were compatible.
After getting PHP up to date, I then downloaded the μlogger server repository from GitHub. It is pretty small, and only took a few seconds, even on my slow 10 mb internet to download it. I extracted in place, and went to work in the terminal, moving it to my web server location and giving it the proper ownership:
cd Downloads/
cd ulogger-server-master/
mkdir /var/www/html/ulogger
cp -Rav ./* /var/www/html/ulogger/
cd /var/www/html/
chown -R apache:apache ./ulogger
cd ulogger/
Now that it is in the right place, I needed a database for it to work with….
mysql -u root -p
enter password:
MariaDB> create database uloggerdb;
MariaDB> grant all privileges on uloggerdb.* TO 'EDITED_USERNAME'@'localhost' identified by 'EDITED_PASSWORD';
MariaDB> flush privileges;
MariaDB> exit
Keep in mind, the author of μlogger only suggests a few privileges, which he states in his read me as “(at least SELECT, INSERT, UPDATE, DELETE privileges, CREATE, DROP for setup script, SEQUENCES for postgreSQL)” however, as I monkeyed around with this, the script only seemed to run when I gave my user all privileges. Not sure if that’s just me, but here’s what I did, and praise God, it worked, because I was getting a little frustrated at this point. This write-up is the end result, not the “how many times I failed setting this up” story….
Now I needed to proceed and make a copy of the config file and edit it per the instructions:
cp config.default.php config.php
nano config.php
cat config.php

<?php
/* μlogger
 *
 * Copyright(C) 2017 Bartek Fabiszewski (www.fabiszewski.net)
 *
 * This is free software; you can redistribute it and/or modify it under
 * the terms of the GNU General Public License as published by
 * the Free Software Foundation; either version 3 of the License, or
 * (at your option) any later version.
 *
 * This program is distributed in the hope that it will be useful, but
 * WITHOUT ANY WARRANTY; without even the implied warranty of
 * MERCHANTABILITY or FITNESS FOR A PARTICULAR PURPOSE.  See the GNU
 * General Public License for more details.
 *
 * You should have received a copy of the GNU General Public License
 * along with this program; if not, see <http://www.gnu.org/licenses/>.
 */

// This is default configuration file.
// Copy it to config.php and customize

// Database config

// PDO data source name, eg.:
//$dbdsn = "mysql:host=localhost;port=3306;dbname=uloggerdb;charset=utf8"
//$dbdsn = "mysql:unix_socket=/tmp/mysql.sock;dbname=uloggerdb;charset=utf8"
// pgsql:host=localhost;port=5432;dbname=uloggerdb
// sqlite:/tmp/uloggerdb.db
//$dbdsn = "uloggerdb";
$dbdsn = 'mysql:dbname=uloggerdb;host=127.0.0.1';

// Database user name
$dbuser = "EDITED_USERNAME";

// Database user password
$dbpass = "EDITED_PASSWORD";

// Optional table names prefix, eg. "ulogger_"
$dbprefix = "";

?>
The key part that went wrong here, was that there were several examples of how to set the “$dbdsn” or database name and location. I tried the ones included in the file, but none of them worked, so I web searched and found this line worked: $dbdsn = ‘mysql:dbname=uloggerdb;host=127.0.0.1’; so that is what I used in the end, instead of any of the included examples.
Now I needed to enable the setup script:
nano scripts/setup.php

.... edited for space ....
// This script is disabled by default. Change below to true before running.
$enabled = true;
.... edited for space ....
With the setup script enabled, it was now time to get started! I opened https://EDITED_HOST/ulogger/scripts/setup.php page in my browser, and followed the on screen instructions, logging in with the username and password I made earlier, and everything went smoothly! Keep in mind, once the setup is done, you need to delete or disable the setup script to prevent it’s future use. So I just deleted it. Here is the end result when you bring up the web page https://EDITED_HOST/ulogger/
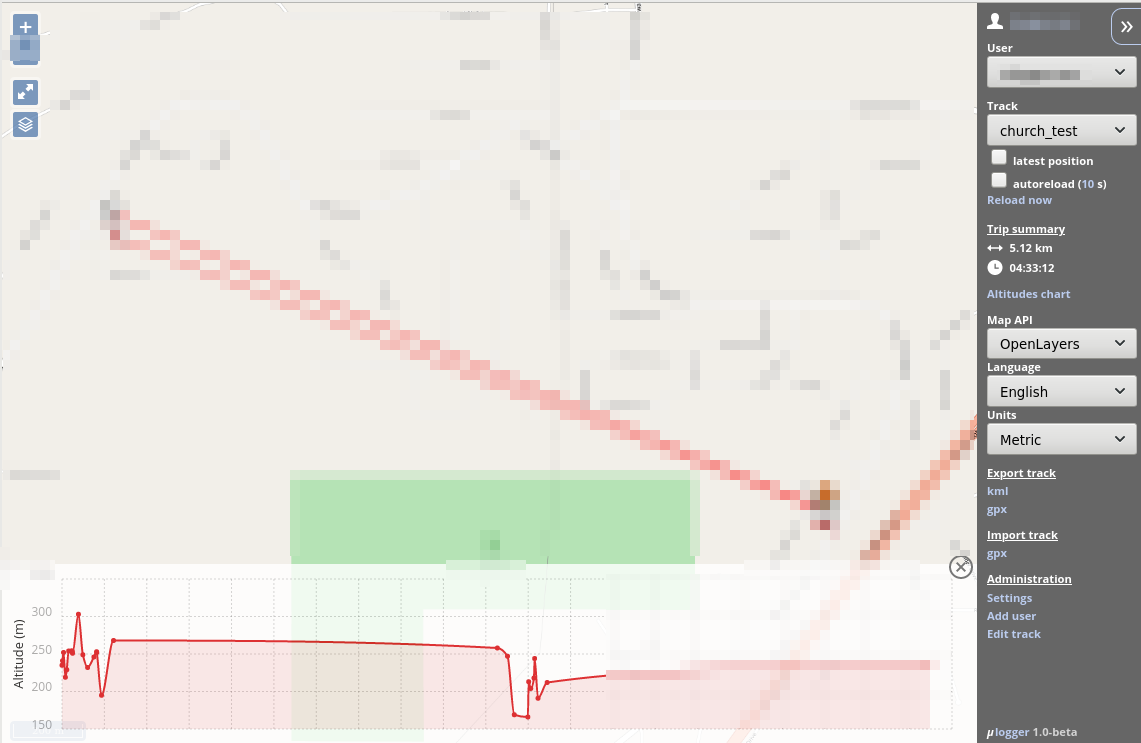
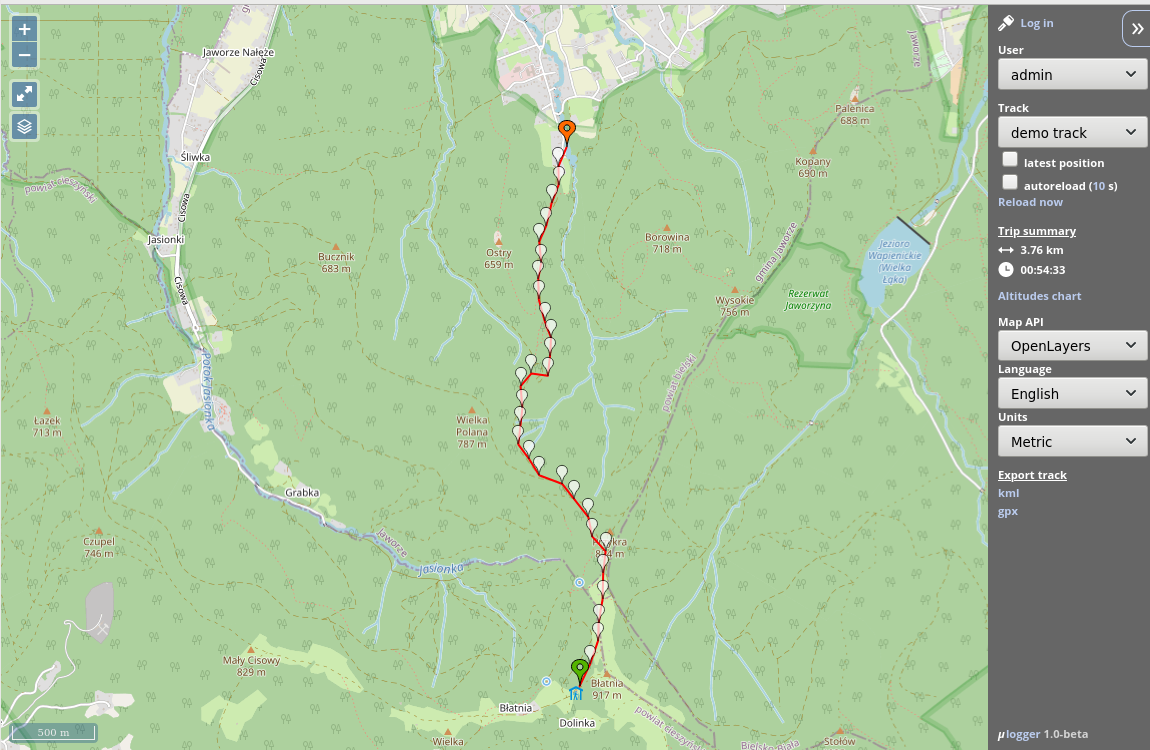
Sorry, I blurred everything out because I didn’t want any uninvited house guests! 🙂 If you want to see a great demo of it from the author, though, you can check it out from his web server on Heroku. Here’s a screen shot of it:
The mobile app is very simple to setup. Under settings, you simply input the username, password, and URL for your web server. You can then choose if you want it to auto upload as you go, or you can update it manually by pressing an upload button on the main screen.
I thought it best to mention that the original user you make is an administrator, and can edit several settings. I recommend that you make a new user with lesser credentials (non-admin) for use with the phone app. When you are logged in as the administrator (the first account you made) you can choose to make new users. This allows you to have lesser accounts for daily logging of activity. It also is handy if you are using this for your company as a way to track drivers/workers or if you have multiple family members, because everyone can have their own username and password.
Hopefully, this will save others using CentOS 7 a little bit of time to set this up!
Linux – keep it simple.
Thanks for fighting with my app 😉
Also for nice write-up and your support!
It was worth it! This is a great system for tracking family (or business use, too) and I’ve already used it on several cross state trips! Thank you so much for writing it!