
Recently, I decided that I would put some of these great components that I have lying around to work. I’ve been doing a lot of Winlink lately, and messing around with my dilapidated Baofeng UV5R. So, I decided to intertwine the two projects. I decided to build an Arduino TNC.
First, for the uninformed, a TNC is a Terminal Node Controller. Essentially, it is a modem. It allows you to send data in the form of packets by making sounds over analog radio signals. Usually the sounds that a TNC makes are FSK, or frequency Shift Keying, or will make a certain sound for say, a 0, and another sound for say, a 1. These 1’s and 0’s then become the building blocks of digital information sent as bits. Some versions and variations can use 8 or more different sounds to create a better throughput of data.
Second, what do you use a TNC for? Well, as we think of it as a modem, consider the old school dial up internet. That is what you can use a TNC for, but with your radio. It allows a radio to connect to another radio or network of radios and pass digital traffic like emails, text messages, BBS, or even traditional internet as we know it today. Usually, the speeds are limited by the FCC, so it is not as fast as traditional home internet, but can work just as well, but slower.
The reason I decided to build the TNC was so that I could use my Android phone with a Winlink app to hook up to my handheld radio to pass email traffic. This would allow me to go anywhere and send/receive emails as long as my hand held Baofeng was within range of a gateway, a computer/radio connection set up as a server for radio users to call in, like your old internet service provider whose phone number you “called” with your dial up modem.
I am not smart enough to build a TNC from scratch. Or at least, I would need to study for a few years to fully understand what I need it to do and how to do it, so I could design one. Thus, I decided to build this already designed TNC:
http://www.mobilinkd.com/2014/09/11/arduino-kiss-tnc/
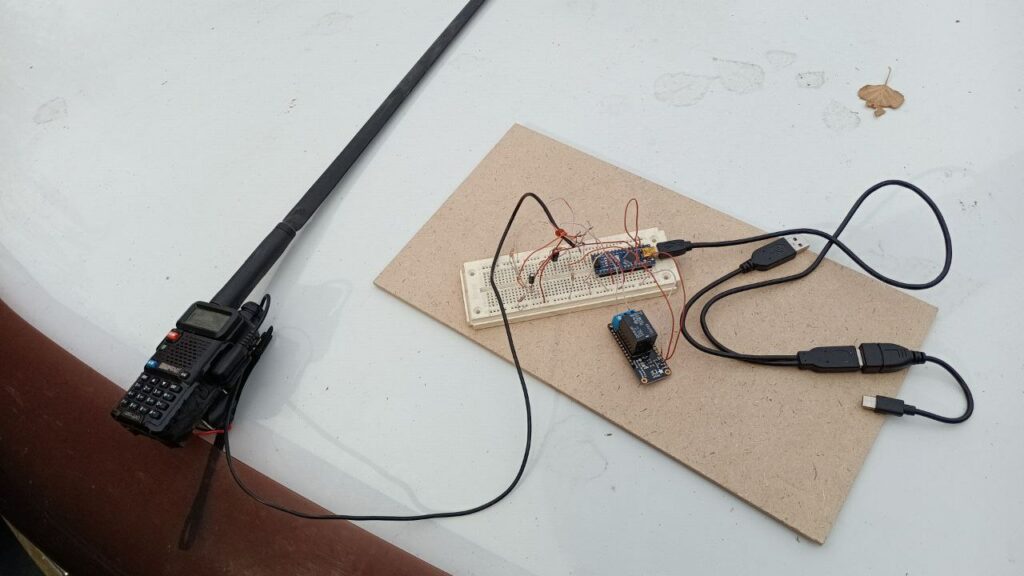
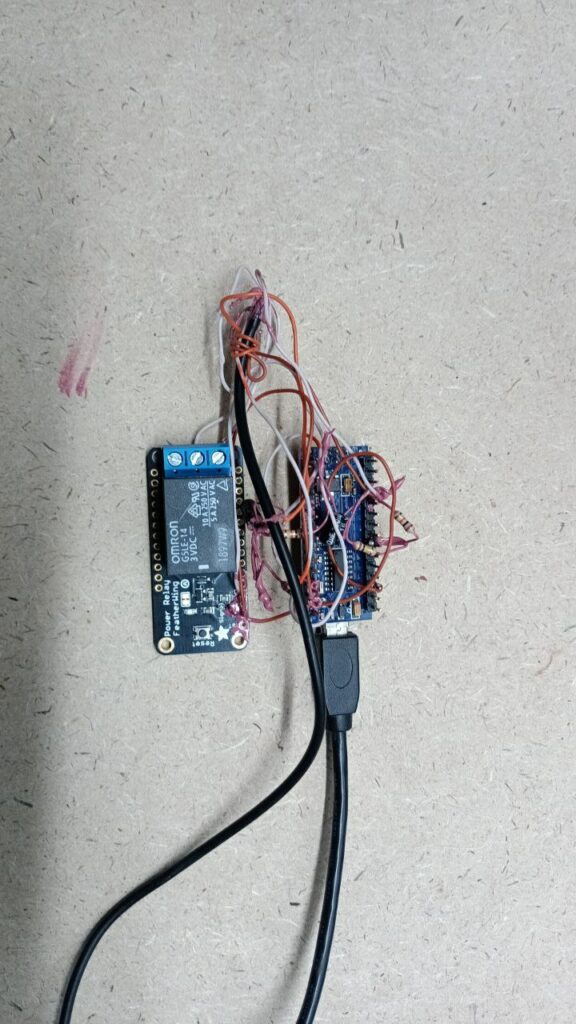
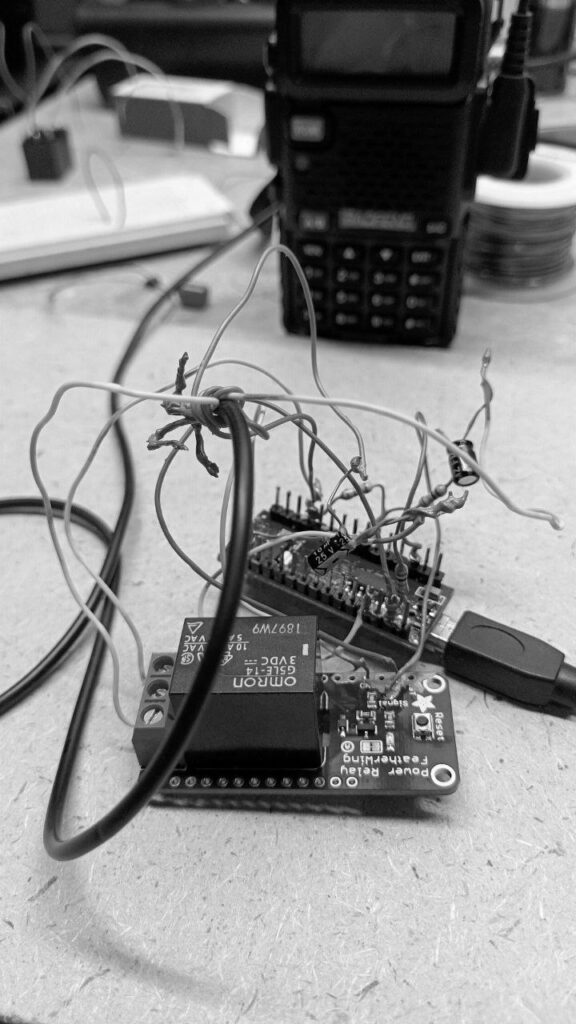
It is a really nice article, and spelled out with drawings, schematics, and instructions for the build. However, I didn’t have all of the parts. I had lots of other parts. I didn’t want to wait for shipping. So, I experimented and made some changes. I used a Adafruit Power Relay Featherwing instead of the transistor to key the microphone.
So, instead of sending the Arduino D10 output to the transistor to switch on and off the microphone, I sent it to the signal input pin of the Featherwing power relay board. I then hooked the ground pin of the Featherwing to the Arduino ground pin. This completes the circuit allowing the D10 signal to turn on or off the relay.
Originally, the transistor allowed a path from the push to talk pin of the Baofeng plug to be grounded, when the D10 signal was sent. So, on the relay, I connected the input to the Baofeng push to talk plug, and the output to ground. So, when the D10 signal is sent, the relay keys, and the Baofeng push to talk plug wire gets a path to ground, keying the microphone on the handset.
Overall pretty simple. This does cause me a slight software setup issue later, but it was easily overcome, as I will explain in the next post where I talk about the software setup. If you can see the pictures, you can also see that I used an “Experimenter 300” board to make temporary connections until I was satisfied with the setup. Then I soldered all the wires together.
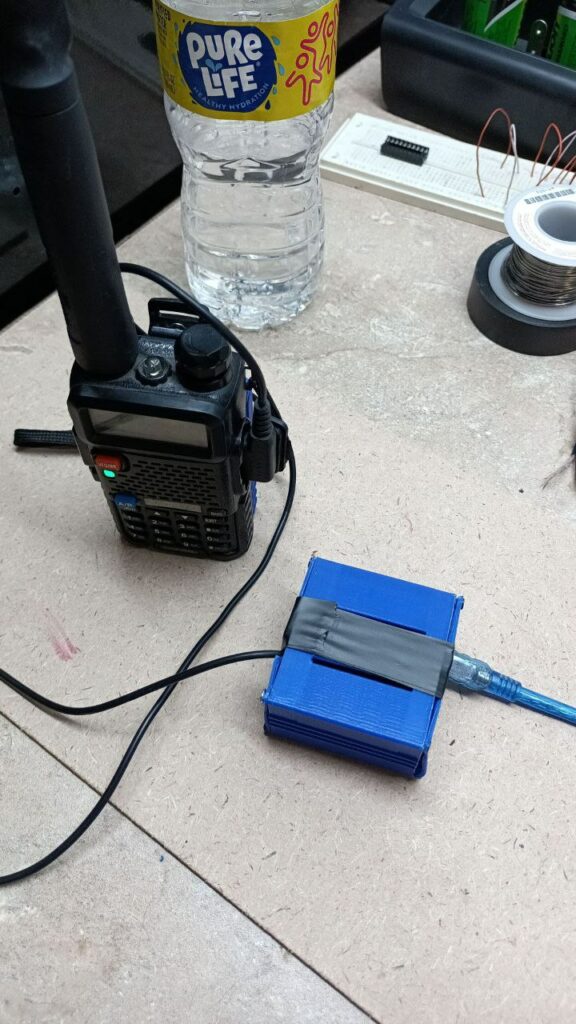
Next up, I needed a case, so I jumped on Printables, and downloaded a 3d printable case. I did edit the length, but other than that, I made no changes to the original design, and I printed it. You can find the original design here:
https://www.printables.com/model/114765-custom-pcb-enclosure
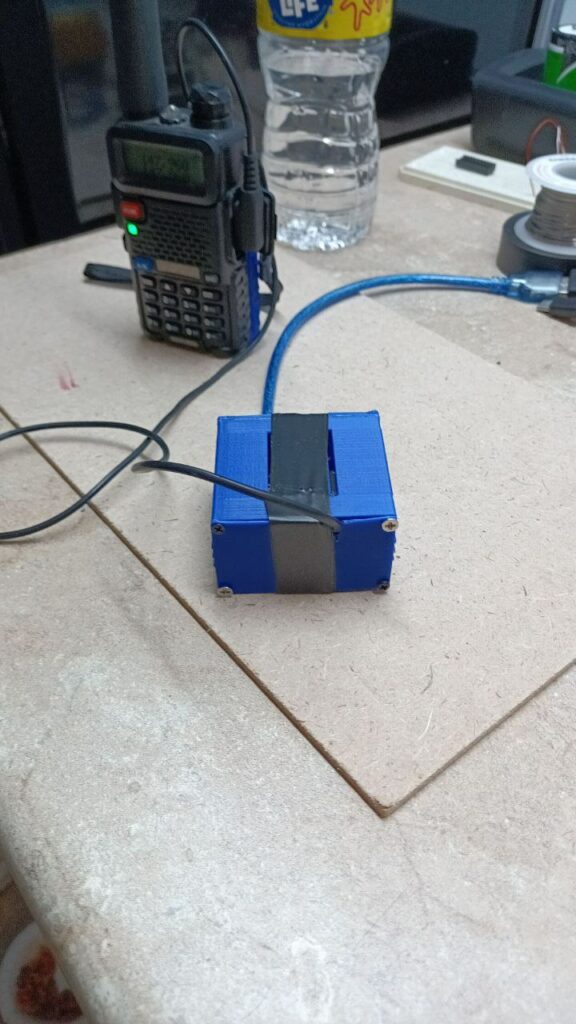
After printing, I spent a few minutes looking around for little screws, and shoved everything into the enclosure. Then I realized I needed holes for the wires going to the radio and the phone, so took everything out and drilled two holes.
All told, this was a pretty fun project! Next up I’ll talk about the software and setup of the TNC and phone.
Linux – keep it simple.