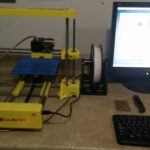
After receiving a generous gift from another developer with whom I worked on some projects on XDA, I procured a 3D printer! I purchased a Colido 3D do it yourself printer! What a blessing! This thing was really easy to put together, and I’ve really enjoyed playing around with it.
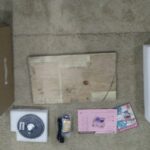
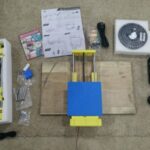
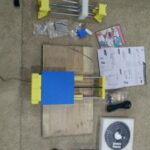
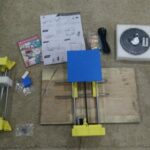
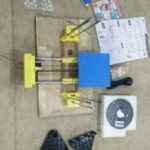
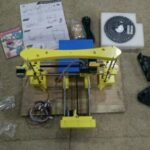
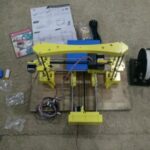
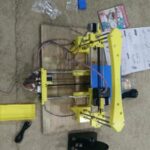
If you look through the pictures, you’ll notice that I took a picture after every step in the instructions.
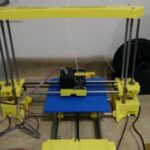
Assembly was a breeze. There were two parts after assembly, however, that really made it difficult to set up. I suppose difficult may be too big of a word, perhaps time consuming would be a better choice.
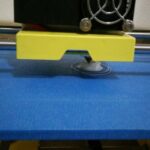
The first was doing the alignment. They send a small flat “card” that you need to place in the tray at just the right spots to check alignment. This is all well and good, but after two attempts, it still didn’t work right. I noticed, though, that the card was very flimsy and thin, so it would warp or bend when stood up straight to perform a measurement. I realized that it was the exact same size as my Costco club card, so I used the thicker Costco card instead. Now when I lower the arm onto it, the card didn’t bend, so the measurement was more accurate. It even worked after that third alignment.
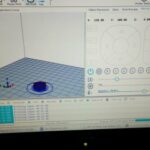
The second thing that was a little difficult was getting all the software needed installed. It did say it supported Linux, but it was a bit less intuitive than I thought it could be. Either way, the main issue was that I was installing it on Centos 7, rather than Ubuntu/Debian, so there was a bit less support available for setup. However, with a bit of tinkering, I was able to get it working.
The main app came as an all inclusive appImage. However, all inclusive still needed to fulfill some php dependencies, and the ones the instructions suggested for Linux were not available on my system. Either way, it worked out well in the end. As you can see from the pic, I printed my first object! You can even watch a video of it if you would like! Now I just have to spend a few hours designing pieces for my new projects!
Linux – keep it simple.