Last time we talked about how to set up the domain name with DDNS for free, and then using very secure FTP, vsftp, and SyncTool (the Android app) to automatically move photos from your phone to your home server. But that’s only half of the battle. One of the big perks to using Google Photos is that you can browse them anytime from anywhere. You can share them with friends, make comments on them, and other socially related things. We need a way to do that from our home server, too.
There are many, many methods to accomplish this, and I tried several, but I’d like to point out two options that worked really well, were simple to use and set up, and used little to no JavaScript. There are several reasons why one might not want to use JS, like security, etc., but I’ll save that for another post. The two best options were phpAlbum, which is 100% JS free, and Piwigo, which only uses JS for some display themes, I chose one without it and it seems to work just fine.
Either way, I needed a web server, so I installed Apache.
# yum install httpd
# systemctl enable httpd
#firewall-cmd –add-port=80/tcp
# firewall-cmd –add-port=80/tcp –permanent
Right out of the box, you could browse to my web server. Of course, it was insecure and it only displayed the main page. I’ll break down adding certs and making it TLS and SSL compliant in another post. I was ready to set up my router, make sure you route that traffic to your server! Since that is rather router specific, you’ll have to look that up on your own, but there are tons of guides on it. Now it was time to install a photo gallery web server.
So, first on the list, I tried phpAlbum. It worked great and seems to be a good fit, provided that you have a smaller photo collection. One big plus is that it doesn’t need a MySQL database or anything. The only downside: once I surpassed 8000 photos, and numerous folders, it seemed to not be able to keep up. So, for a short time I got around this by setting up multiple web pages, each running a unique instance of phpAlbum, each with it’s own set of photos. This was simple, really, I made one for a couple of years worth, and one for the next 3 or 4 years, and then had a main web page that linked to the different ones. This is a bit tedious and cumbersome though, but wasn’t too bad if you have a lot of static images.
Since it is so simple, and has a good installation guide, which you can read here, I’ll be very brief about how I set this up. You can also click here for a phpAlbum demo.
# yum install php php-xml php-mbstring php-gd
# yum install ImageMagick
# yum install unzip zip
After downloading the latest phpAlbum zip from their website, unzip it and edit config_change_it.php to your needs with nano or vi, basically by setting the data directory and the photo directory, and rename it config.php. Now copy the entire directory to /var/www/html. So in my setup, it was /var/www/html/phpAlbum/ with all of the files in it.
Next, chmod 777 the cache, data, and photo directory inside your folder, so you can write to it with other users (the uploading functions). Then:
# chown -R apache:apache /var/www/html/phpAlbum
so your web server can own it (since I’m using Apache as the web server). Now all you have to do is navigate to http://yourDomainNameIPaddress/phpAlbum and you will be greeted by a login, to which the default is admin and admin for the username and password. Once your in, it will ask you a few questions, and you can be up and running in a few minutes! It worked really great, like I mentioned earlier, when I had a smaller photo collection (under 8000 for me, but your mileage may vary).
Since it was struggling with more photos, I decided to switch to Piwigo. You can check out a demo of it here. There is a really, really great guide on TecMint, that I drew from when putting this together, but it was relatively simple. Start by installing the dependencies – note that a lot of these were already installed for phpAlbum, and I’m not 100% sure you need all of these, but this is what I installed:
# yum install php php-xml php-mbstring php-gd wget unzip zip ImageMagick python python-tk python-psyco mariadb-server php-mysqlnd
Now you need to enable and set up your MySQL/mariaDB:
# systemctl enable mariadb
# mysql -u root -p
MariaDB [(none)]> create database piwigo;
MariaDB [(none)]>grant all privileges on piwigo.* to ‘piwigouser’@’localhost’ identified by ‘pass123’;
MariaDB [(none)]>flush privileges;
MariaDB [(none)]>exit# systemctl restart httpd
Be sure to use your own usernames and passwords. I don’t recommend the defaults! Then you need to download Piwigo and unzip it, placing it in your Apache web server root directory. After you put it in place, you need to set the proper read and write permissions, as well as ownership:
# wget http://piwigo.org/download/dlcounter.php?code=latest -O piwigo.zip
# unzip piwigo.zip
# cp -rf piwigo/* /var/www/html/
# chown -R apache:apache /var/www/html/
# chmod -R 755 /var/www/html/
# chmod -R 777 /var/www/html/_data/# systemctl restart httpd
# systemctl restart mariadb
Now it’s up to you how you want to handle moving the pictures we automatically uploaded to the server into the Piwigo directory. For instance, you can have your photos upload from your phone to your home directory, and then make a cron job or script, or manually put them into your Piwigo directory. One benefit of this is deleting blurry or useless photos. I like this option best, but that’s my opinion.
Another option is to set the /var/www/html/galleries photo permissions to be writable/readable by others, or add your user to the group and upload your photos directly to it. I tried this as well, and it works good, too. Either way, now all you have to do is use your web browser to navigate to your server, and you should see the Piwigo first login/setup screen.
Choose your options, such as language, etc., tell Piwigo what the MySQL/MariaDB is called and what that password is, and you should be up and running in no time! Now you can log into the web interface as the admin user (that you just set) and start choosing themes, uploading photos with the web app, or syncing the galleries folder for the photos you put there via FTP or moved manually or scripted.
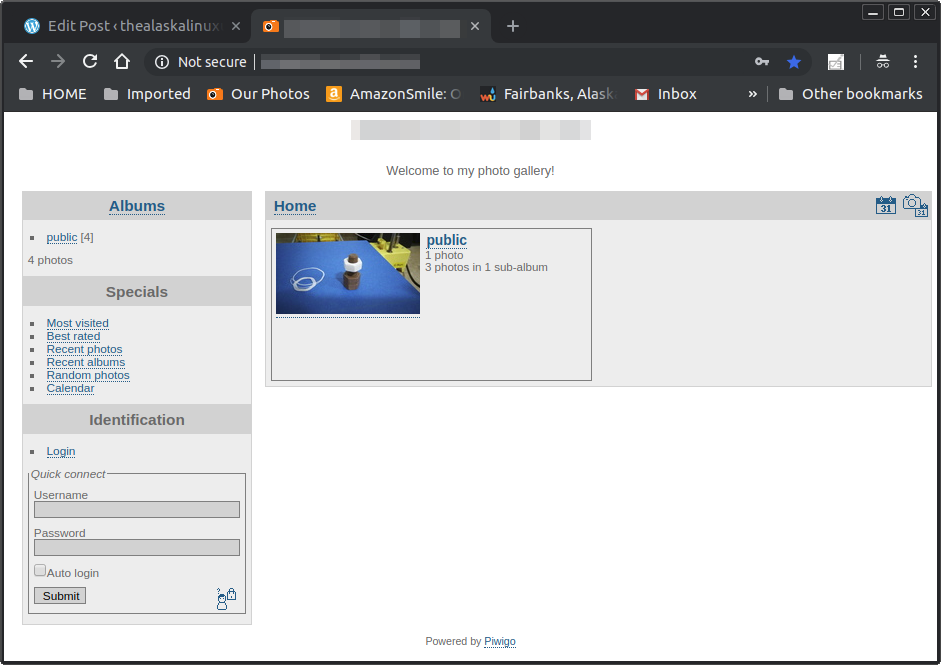
In this screenshot, you can see the light theme that I went with, and how there are some photos available for the public to see. If I log in, then I can see the rest of the pictures:
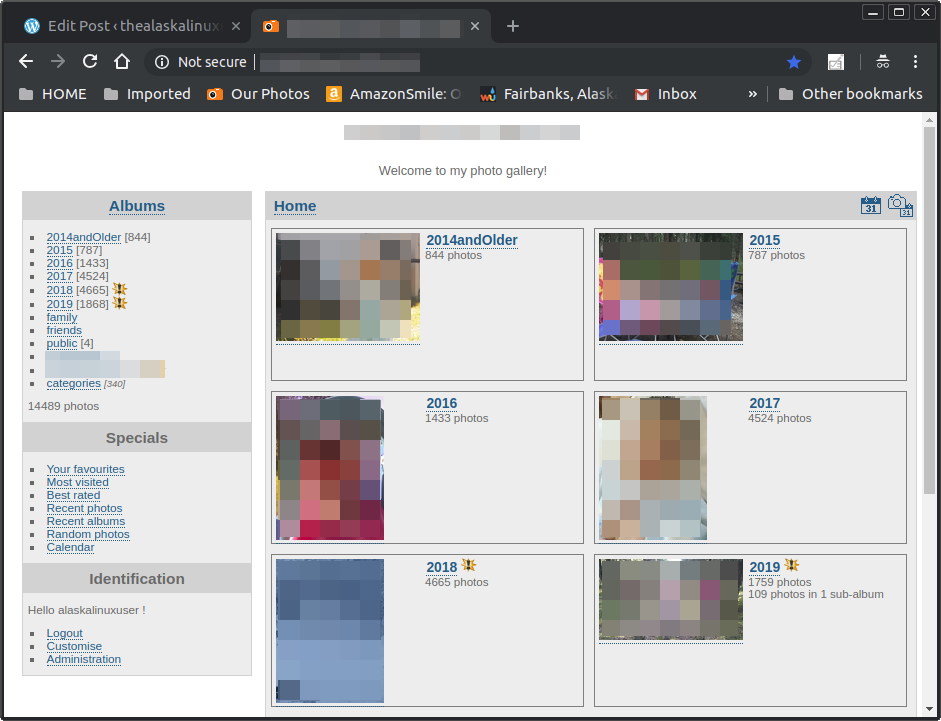
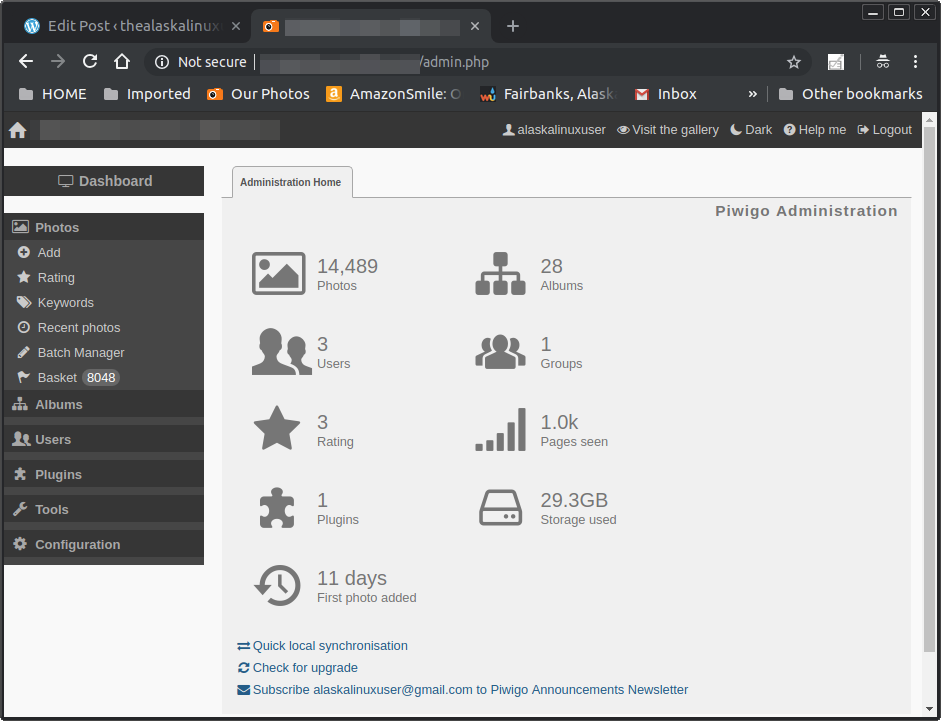
You can have more users and give each user access to certain files, folders, or groups. Groups is nice because you can give “family” the option to see this, and “friends” the option to see that. You can control everything from the web admin screen:
Another plus to Piwigo is that there are several Android apps out there, some paid, some free, some open source. So there are options, but quite honestly the web browser of Android works great, since Piwigo has two theme settings, one for desktop browsing, and one for mobile browsing as well. So you can have two different themes, one for each desktop and mobile, to maximize what works best for you.
There’s still a few things to cover though. Right now, it is only using port 80 for unsecure web traffic. We definitely want to use secure http on port 443, so we will cover certificates and security next.
Linux – keep it simple.
Thank you for sharing this fantastic FOSS webapp. I was waiting to find out how you could give someone easy control of sharing their photos. This is a definite possibility for my family’s photo sharing needs. I too long to get off the Google train. Now if I could only get the caldav thingy working…
Yes, we’ve found it to be really easy to use and there are quite a few themes if you want to change the layout and look. The random selection feature, where it shows you 15 random photos from your archive is pretty fun for trips down memory lane!