Hopefully all of these higher resolution photos show up well in this post, as I wanted to show you what I’ve been working on. Previously, I talked about the difference between using Slic3r to slice my stl files into gcode, and I was pointing out that with the exact same settings, the slice comes out different between slicing inside the printing program, or if I slice directly in the Slic3r program itself, even though the printing program calls Slic3r to do it’s work.
Overall, it was and still is always better to open up Slic3r and slice the files directly. It does add an extra step, but also adds much better quality to the print.
That said, I’ve been tinkering with making the perfect slice.
If there ever was a tough part to 3D printing, I believe it is slicing your stl into gcode. It has taken me about dozens of slices of adjusting settings one or two at a time to get what I consider the best possible print out of my printer. And by God’s grace, I *think* I’ve finally got it down. But you can check out the pictures and judge for yourself.
For all of these prints, I am using a test print pattern that I found on Thingverse. I wanted to provide a direct link, however, as I write this, Thingverse’s website seems to be down at the moment.
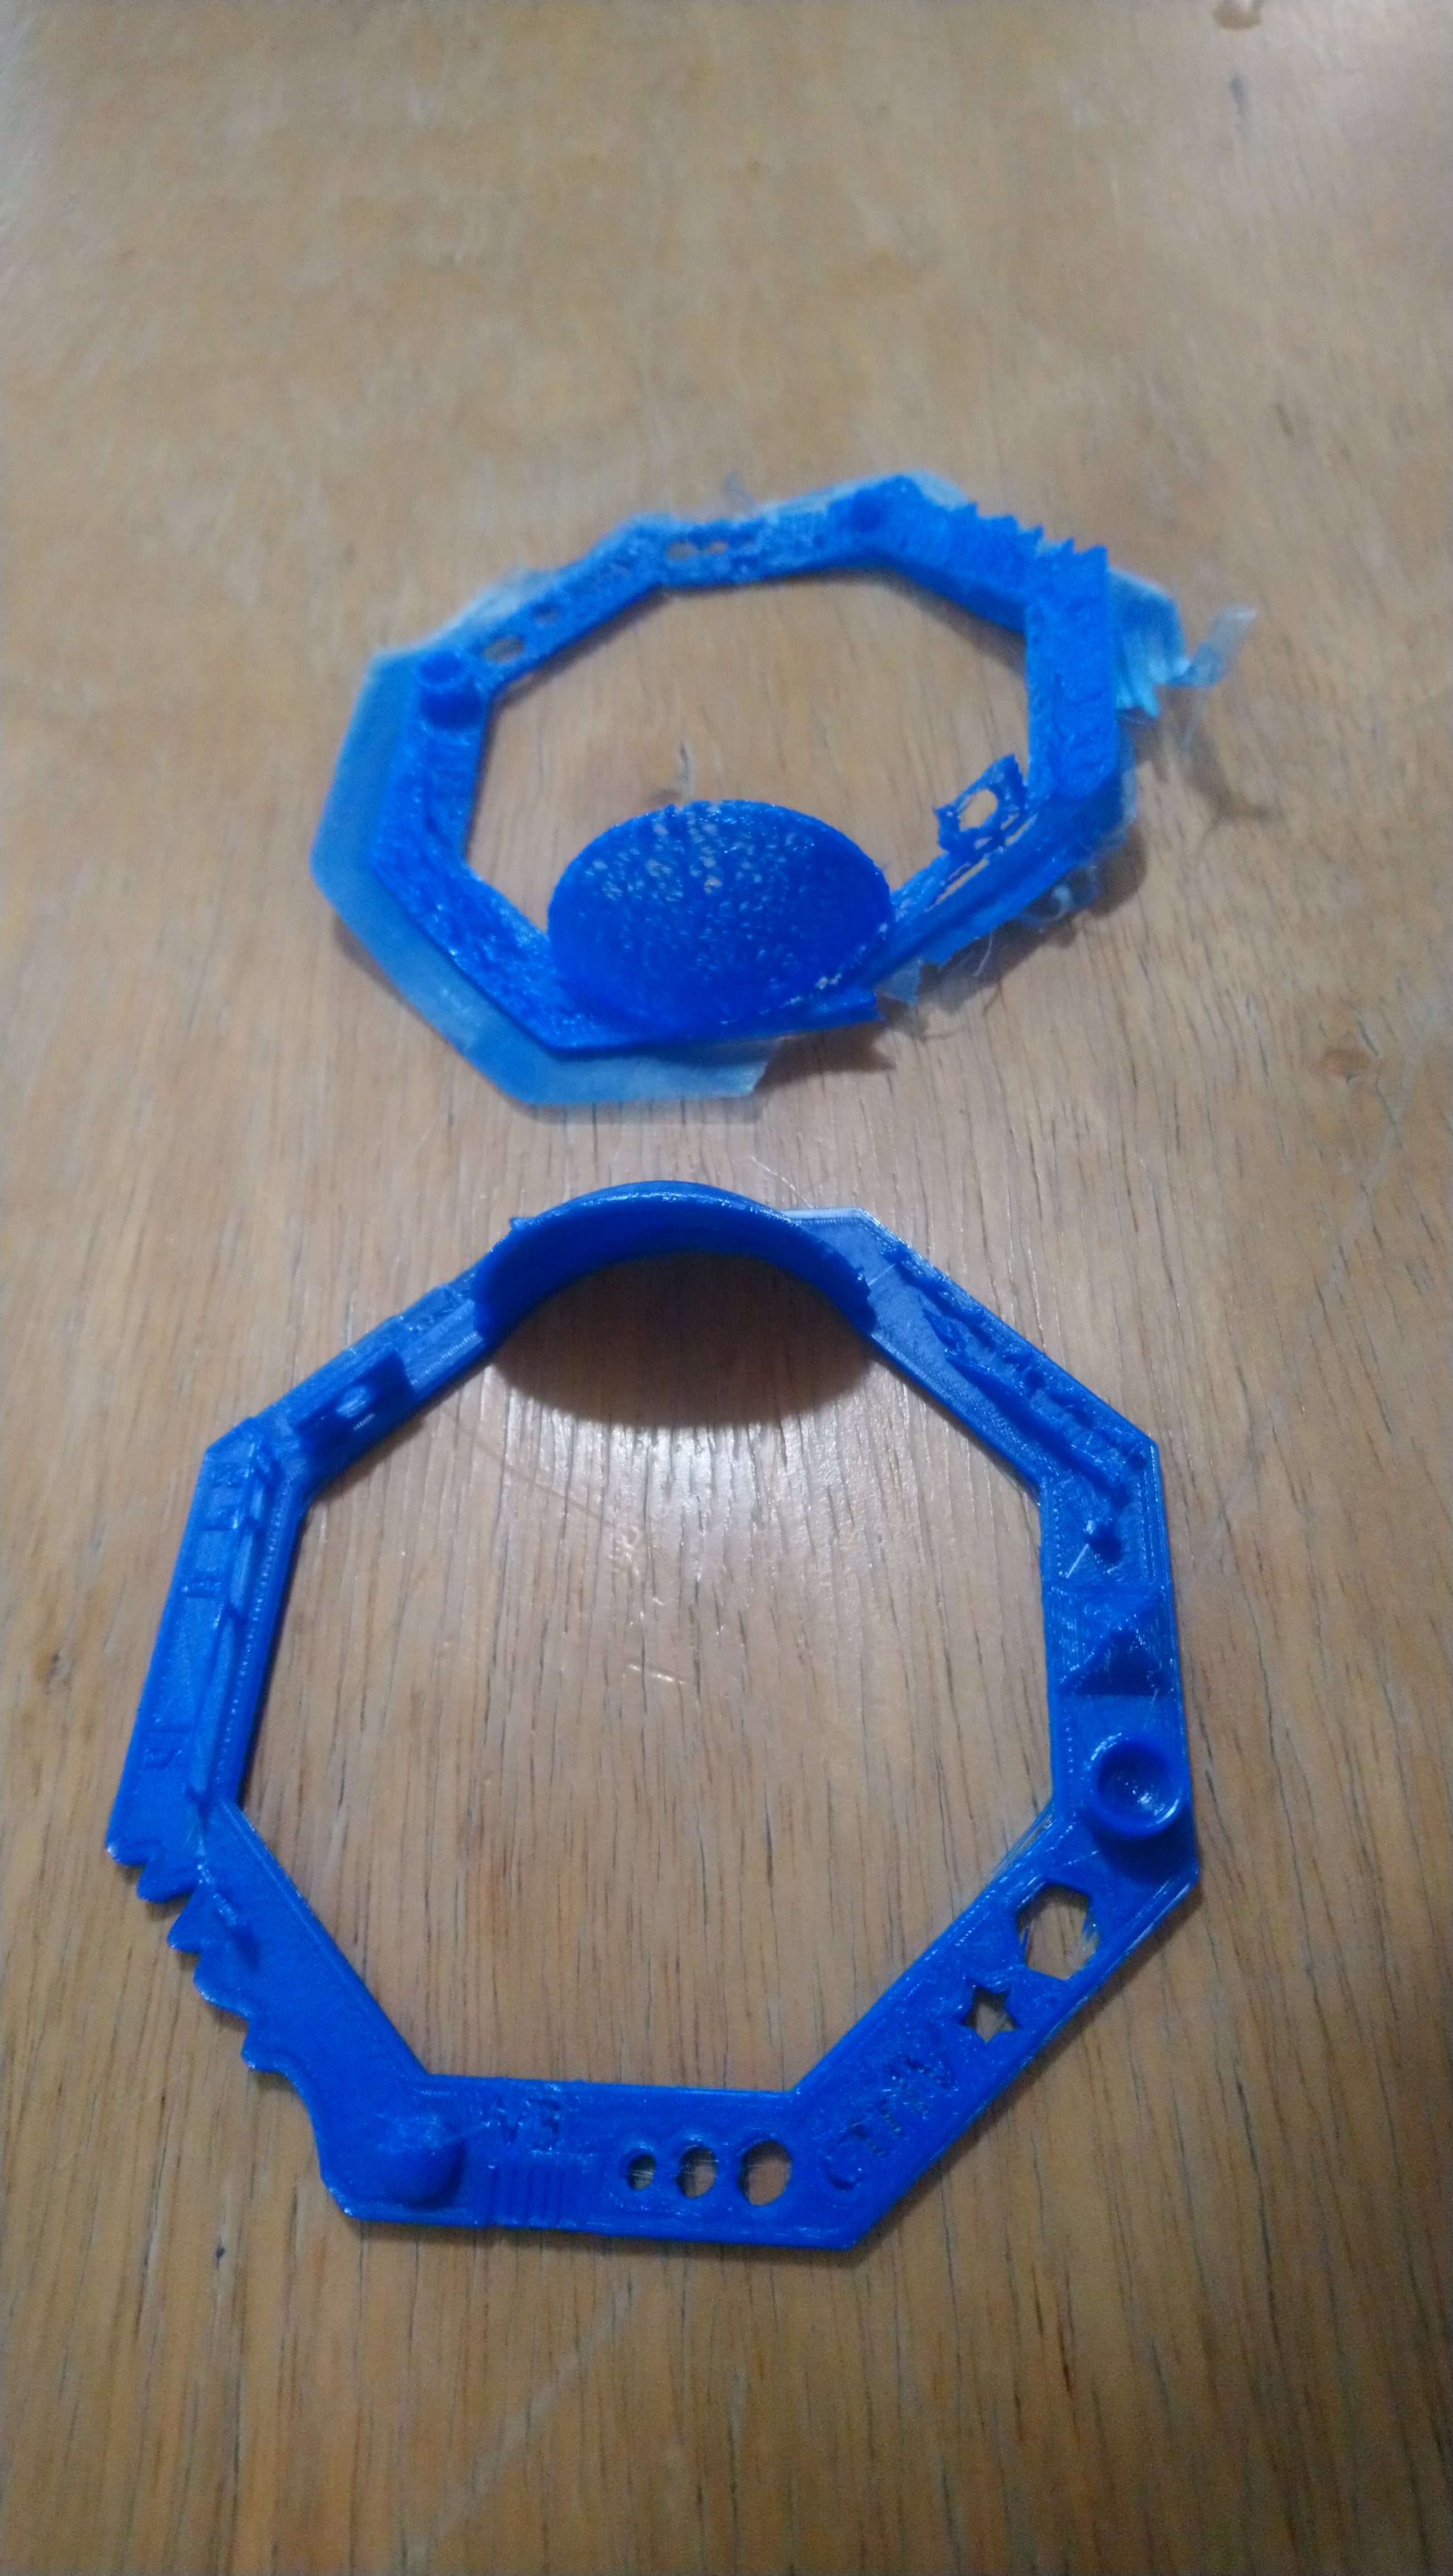
Here you can see one of my early prints compared to one of my later prints. Neither of these is the best my printer can do, but it is interesting noting the difference in quality. The upper print was sliced with Cura directly inside the program, with the “fine” settings. It was a complete waste of a print. The lower print was sliced with Slic3r using settings that I thought would work for my printer. It is better, but not much.
You can see that it has a star and a hexagon, and three circles. The pyramid, cup, and dome are all there, but it is not a good print. Between the dome and the three circles on the bottom, there should be “comb” like teeth, but they don’t go all the way through to the table, and between the circles and star are words, that should be clear all the way through to the table, but are not. So more work was needed.
Then, I found a printer settings file for the Colido 3D DIY printer that was for Mac users, and I loaded that into Slic3r. It worked better, but still had issues.
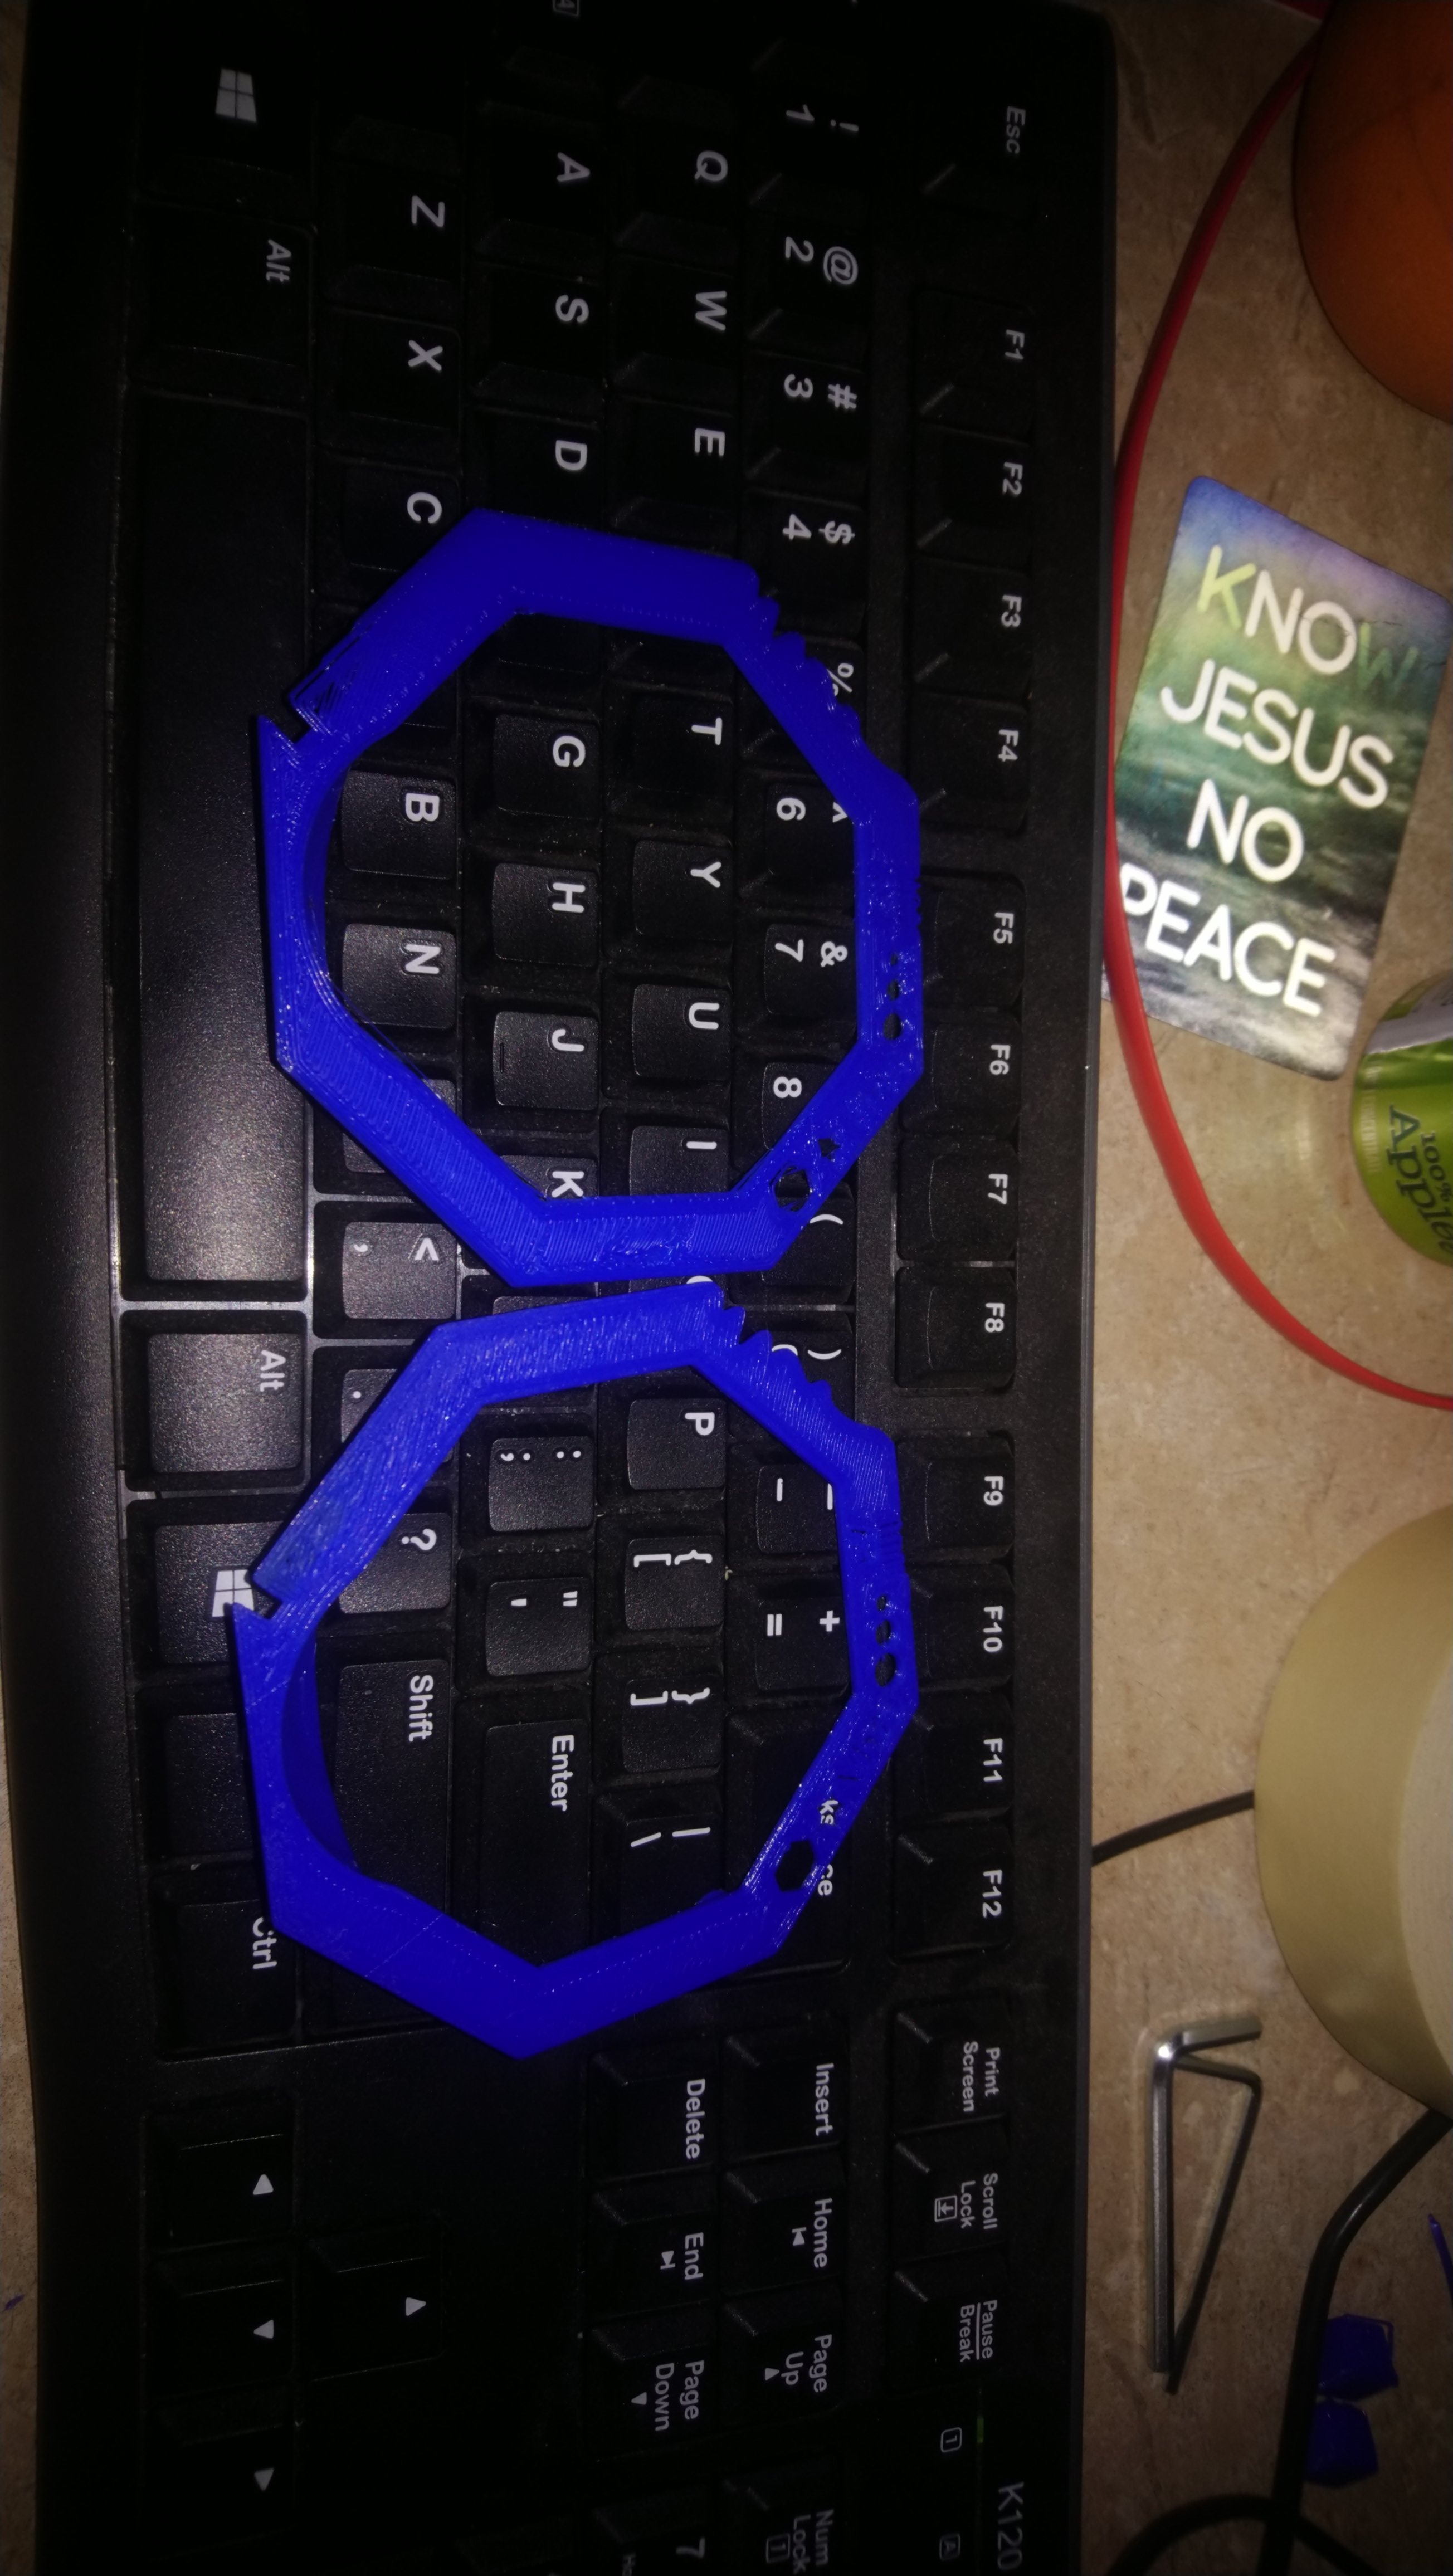
This picture is a bit hard to see, but on the bottom, the print was not adhering to the platform, making the base of the print unstable for the prints made on top of it. There also was a bad “shift” through the middle of the print, where every print came out with a few layers shifted over to the left or right, making the prints very poor.
Notice how the “cup” and pyramid in this picture shift slowly to the left, instead of being centered and growing up like they should.
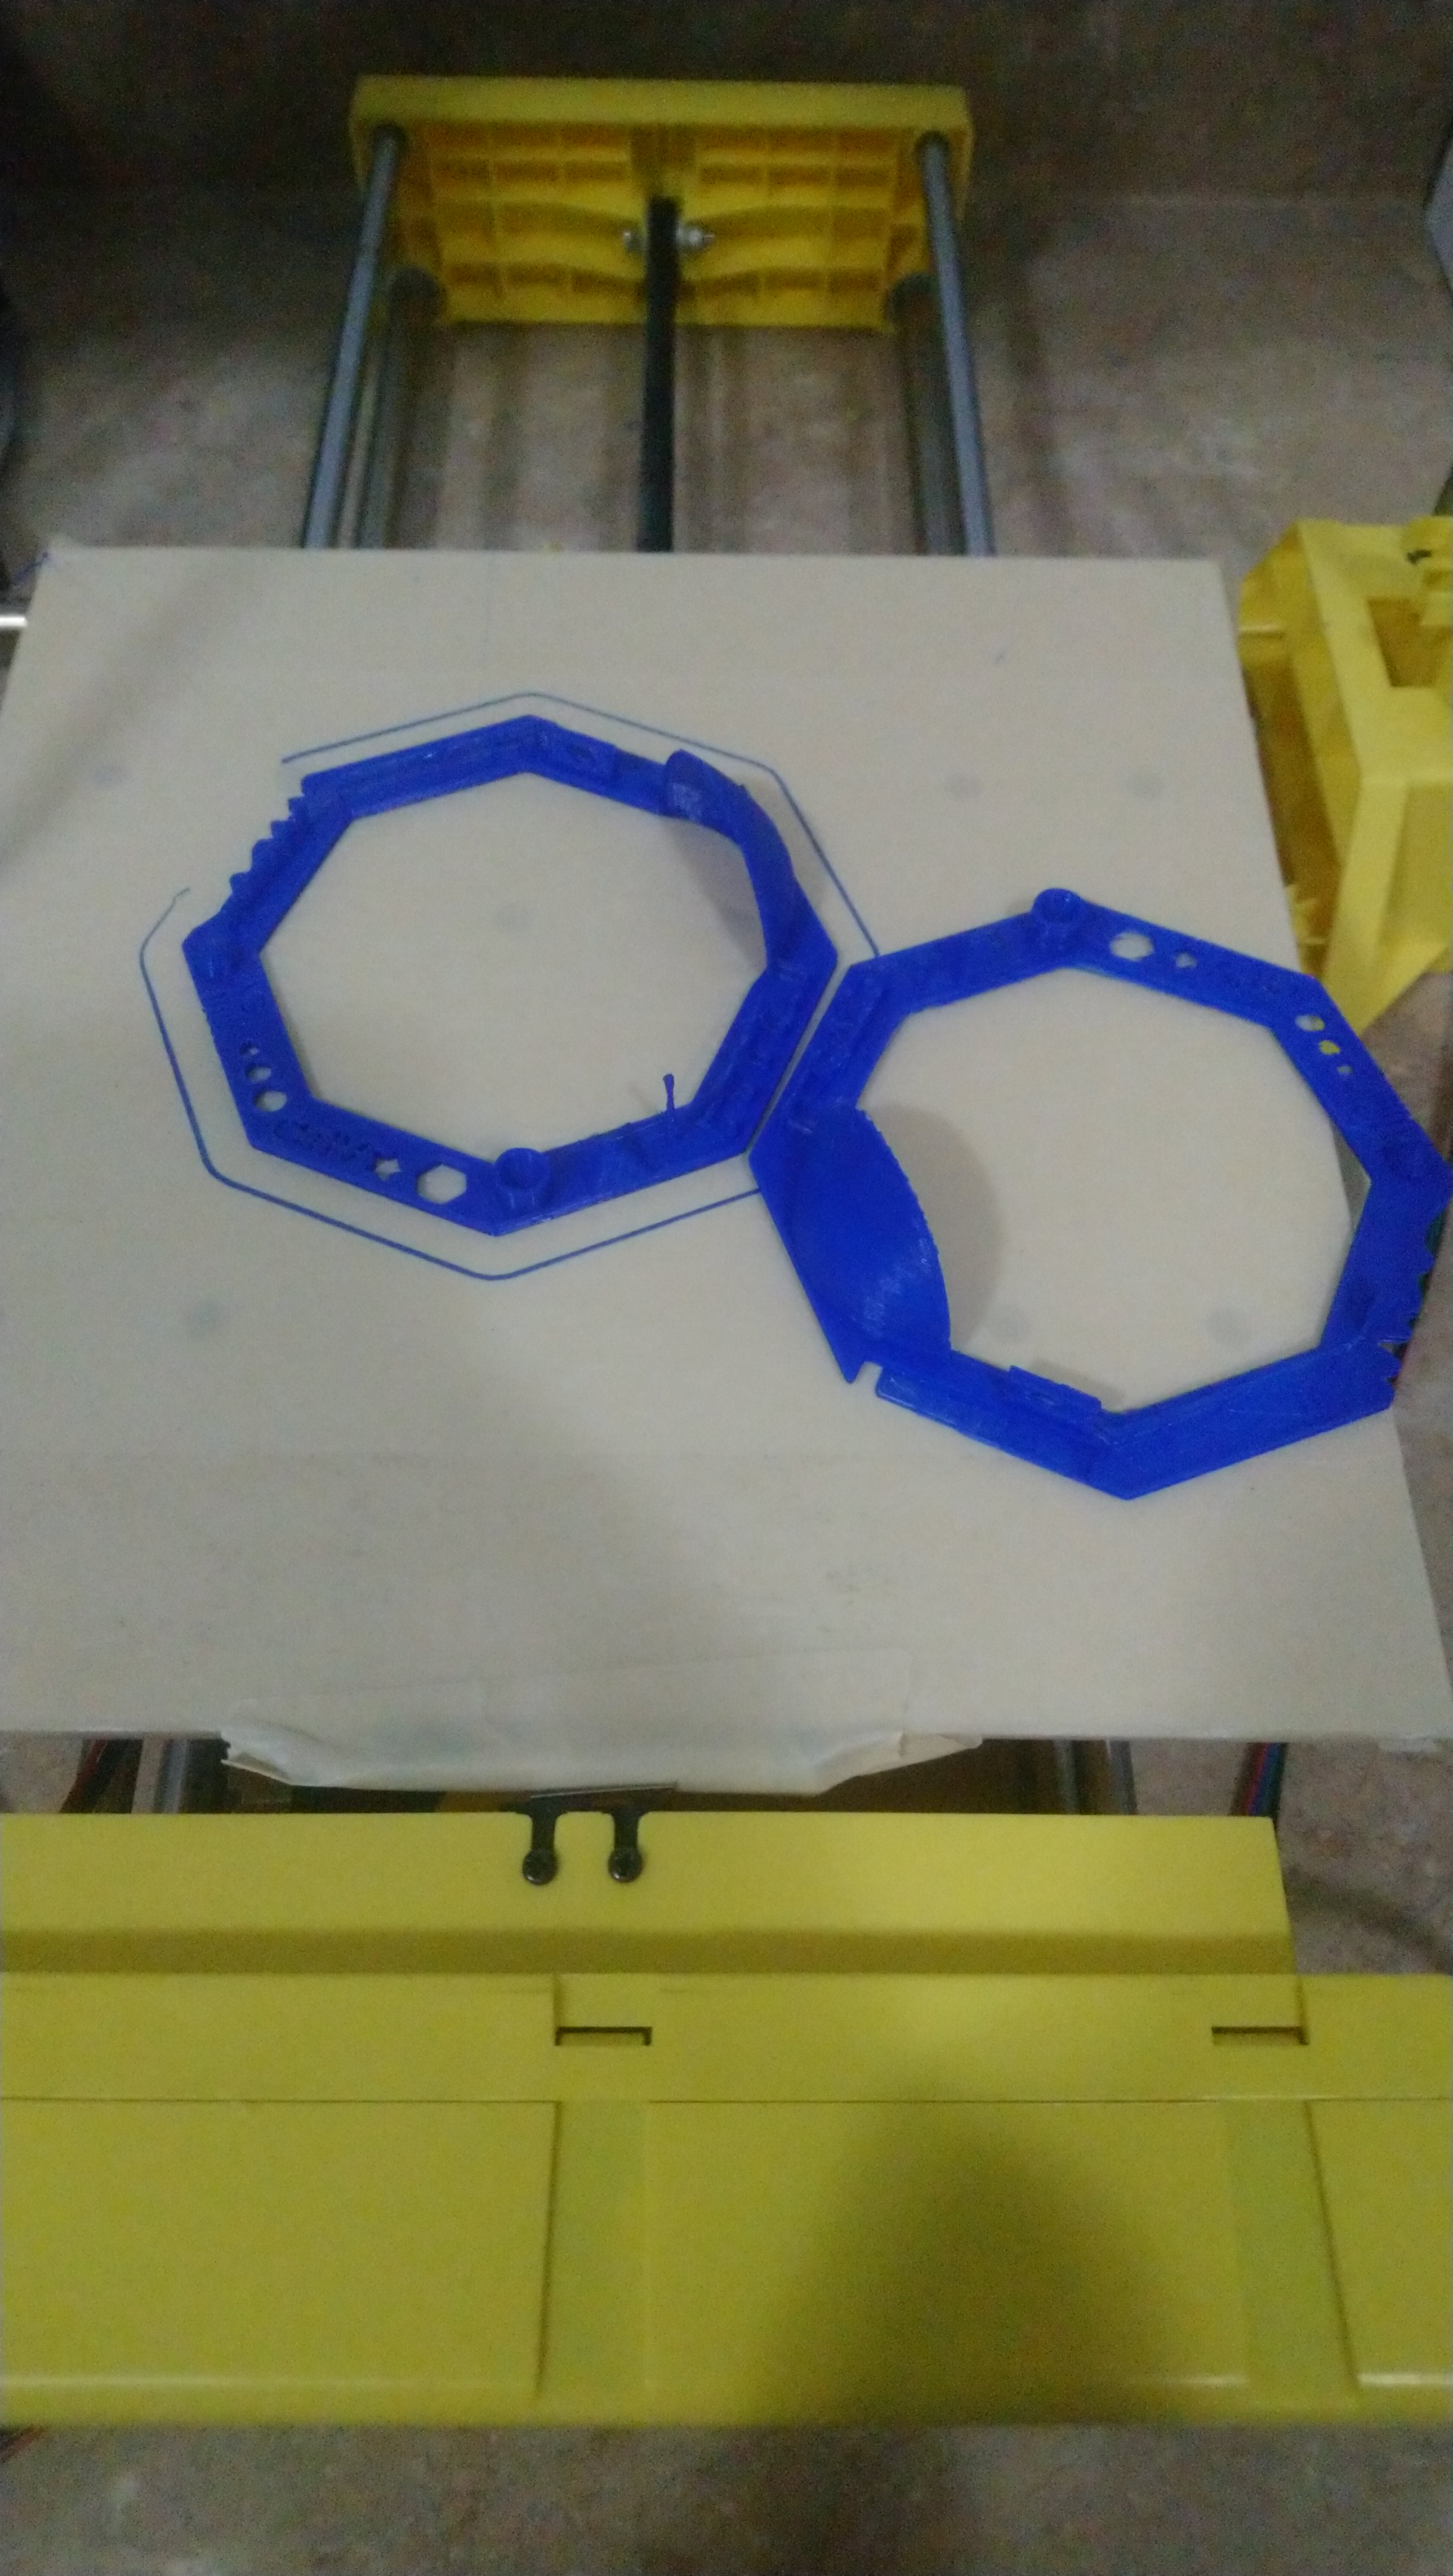
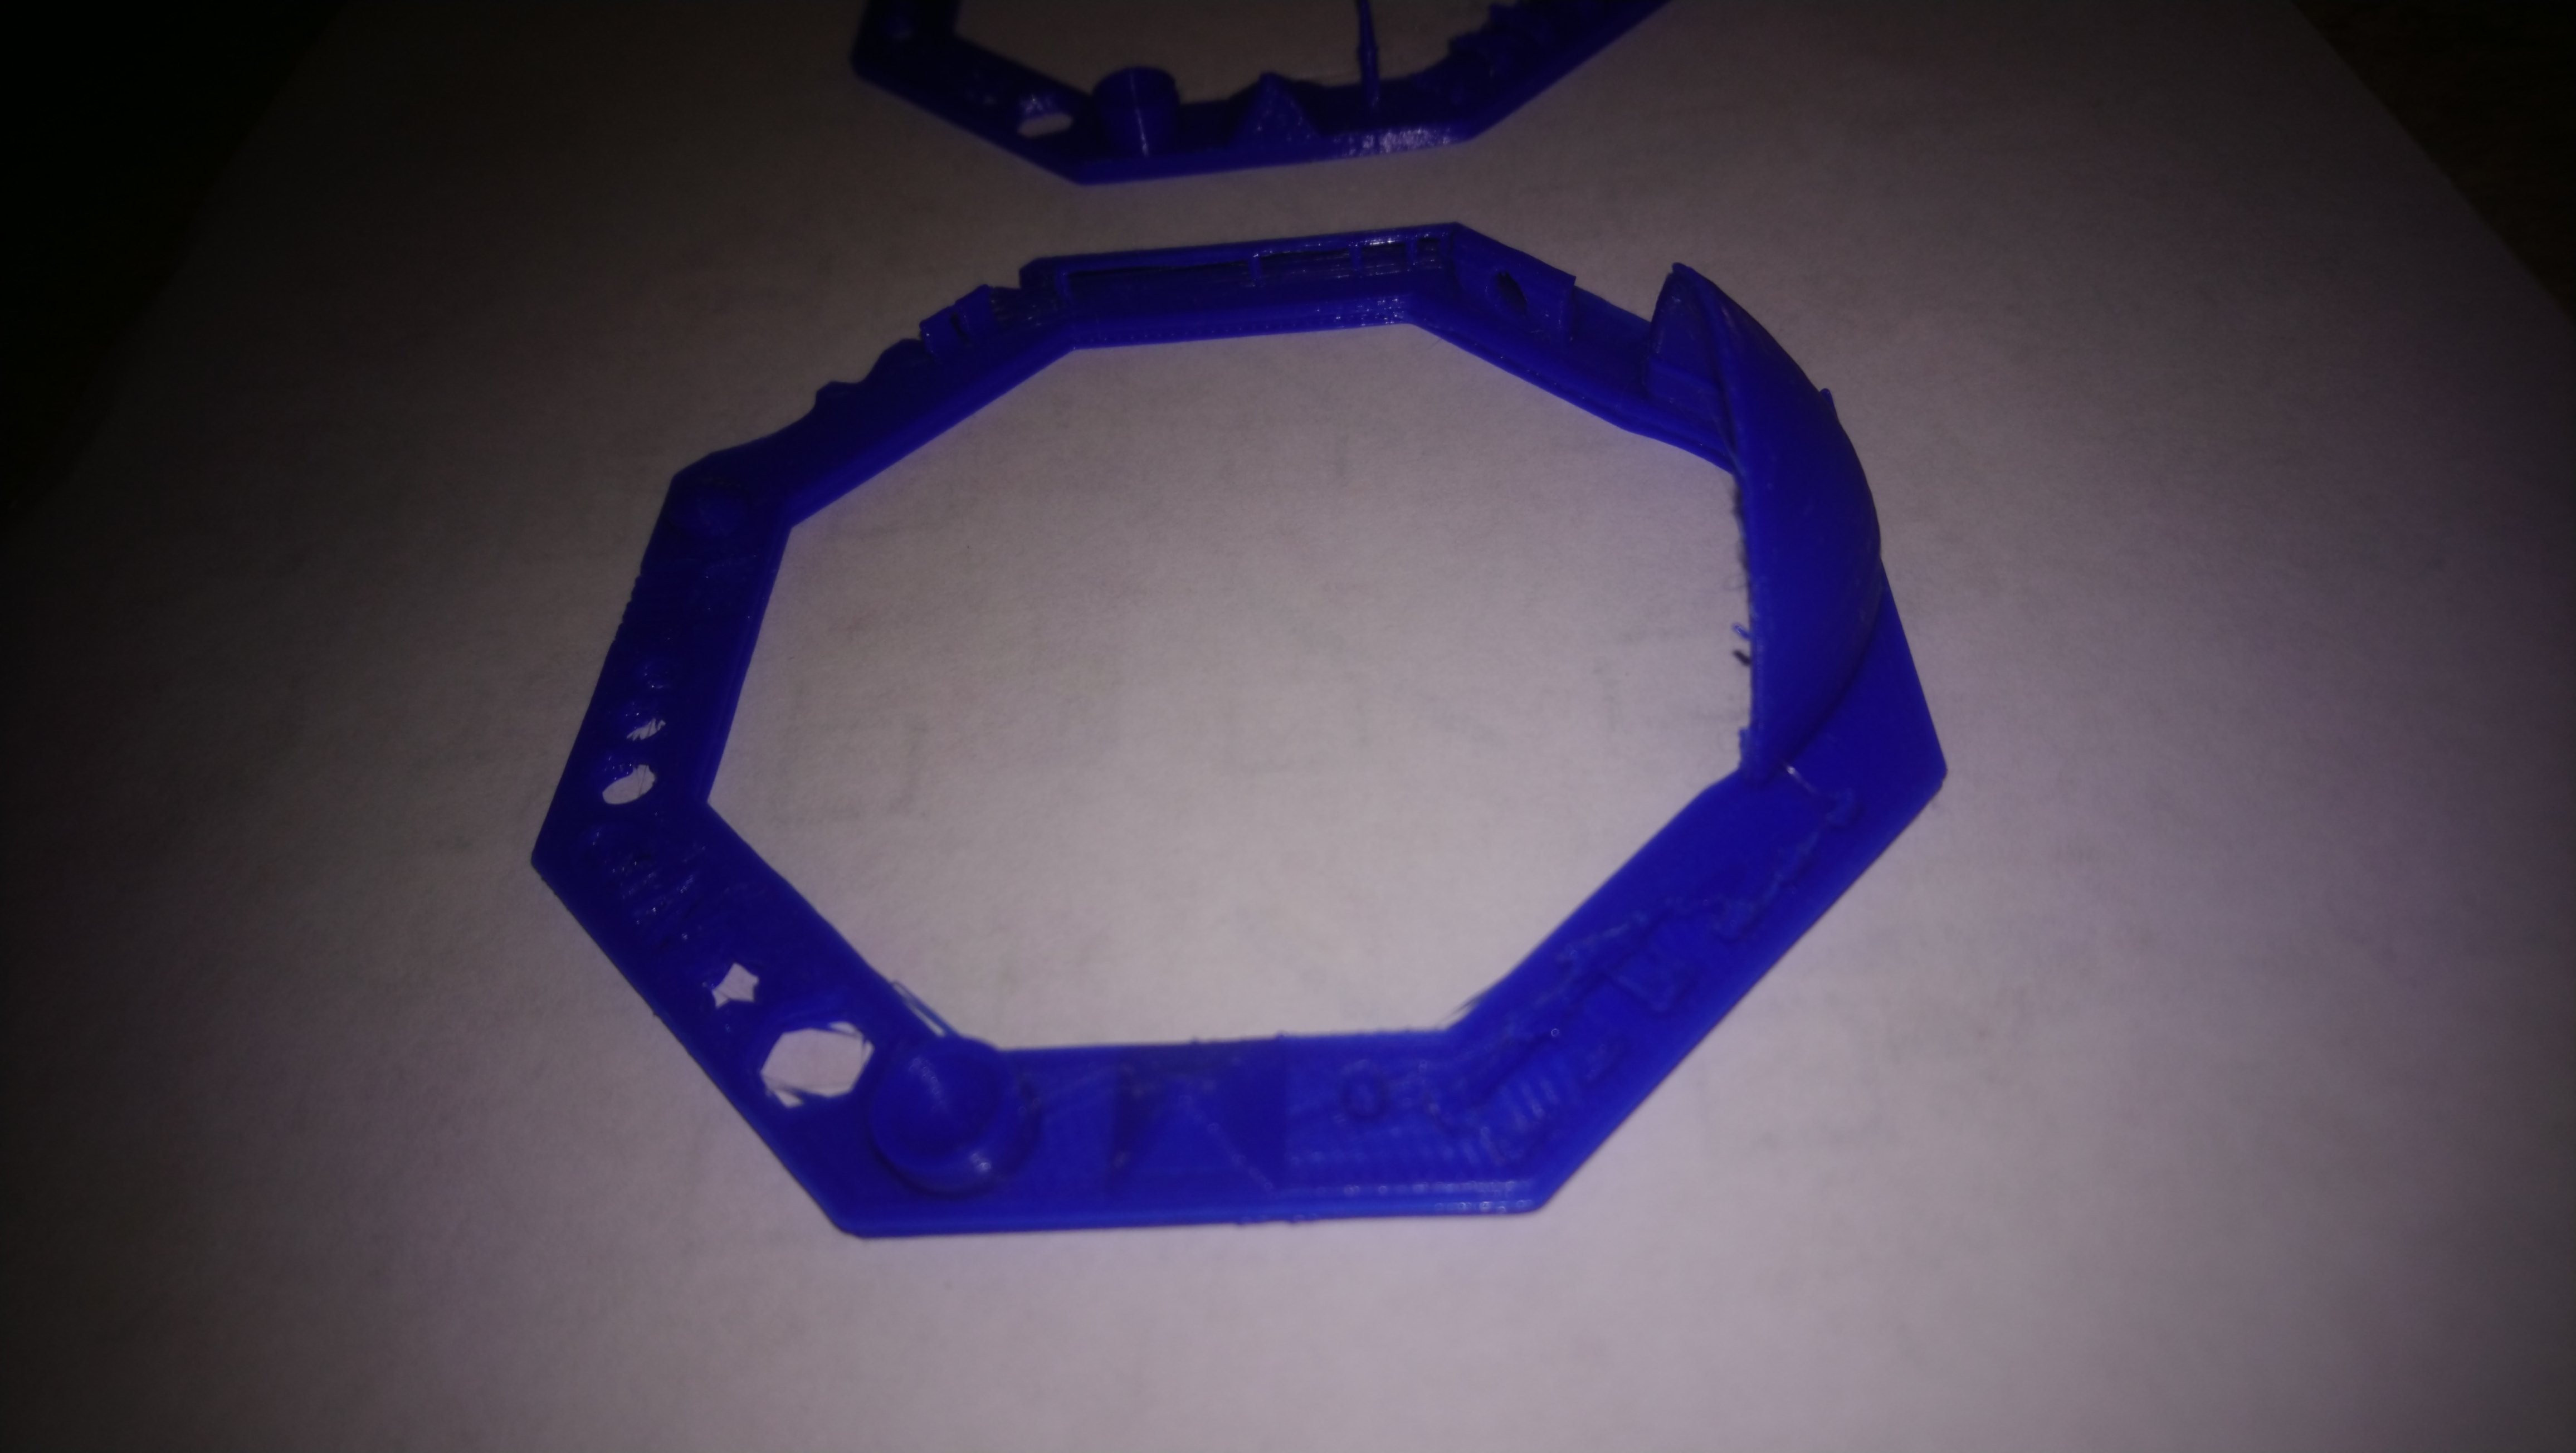
Finally, after literally dozens of prints, I was able to make a pretty good one. The one on the platform just finished and is the best one yet. The one next to it was the previous best, for comparison. Notice on the good one that the circles and holes are very clear and distinct. Also notice that for the first time of all the prints, the spire, or skinny tower actually printed.
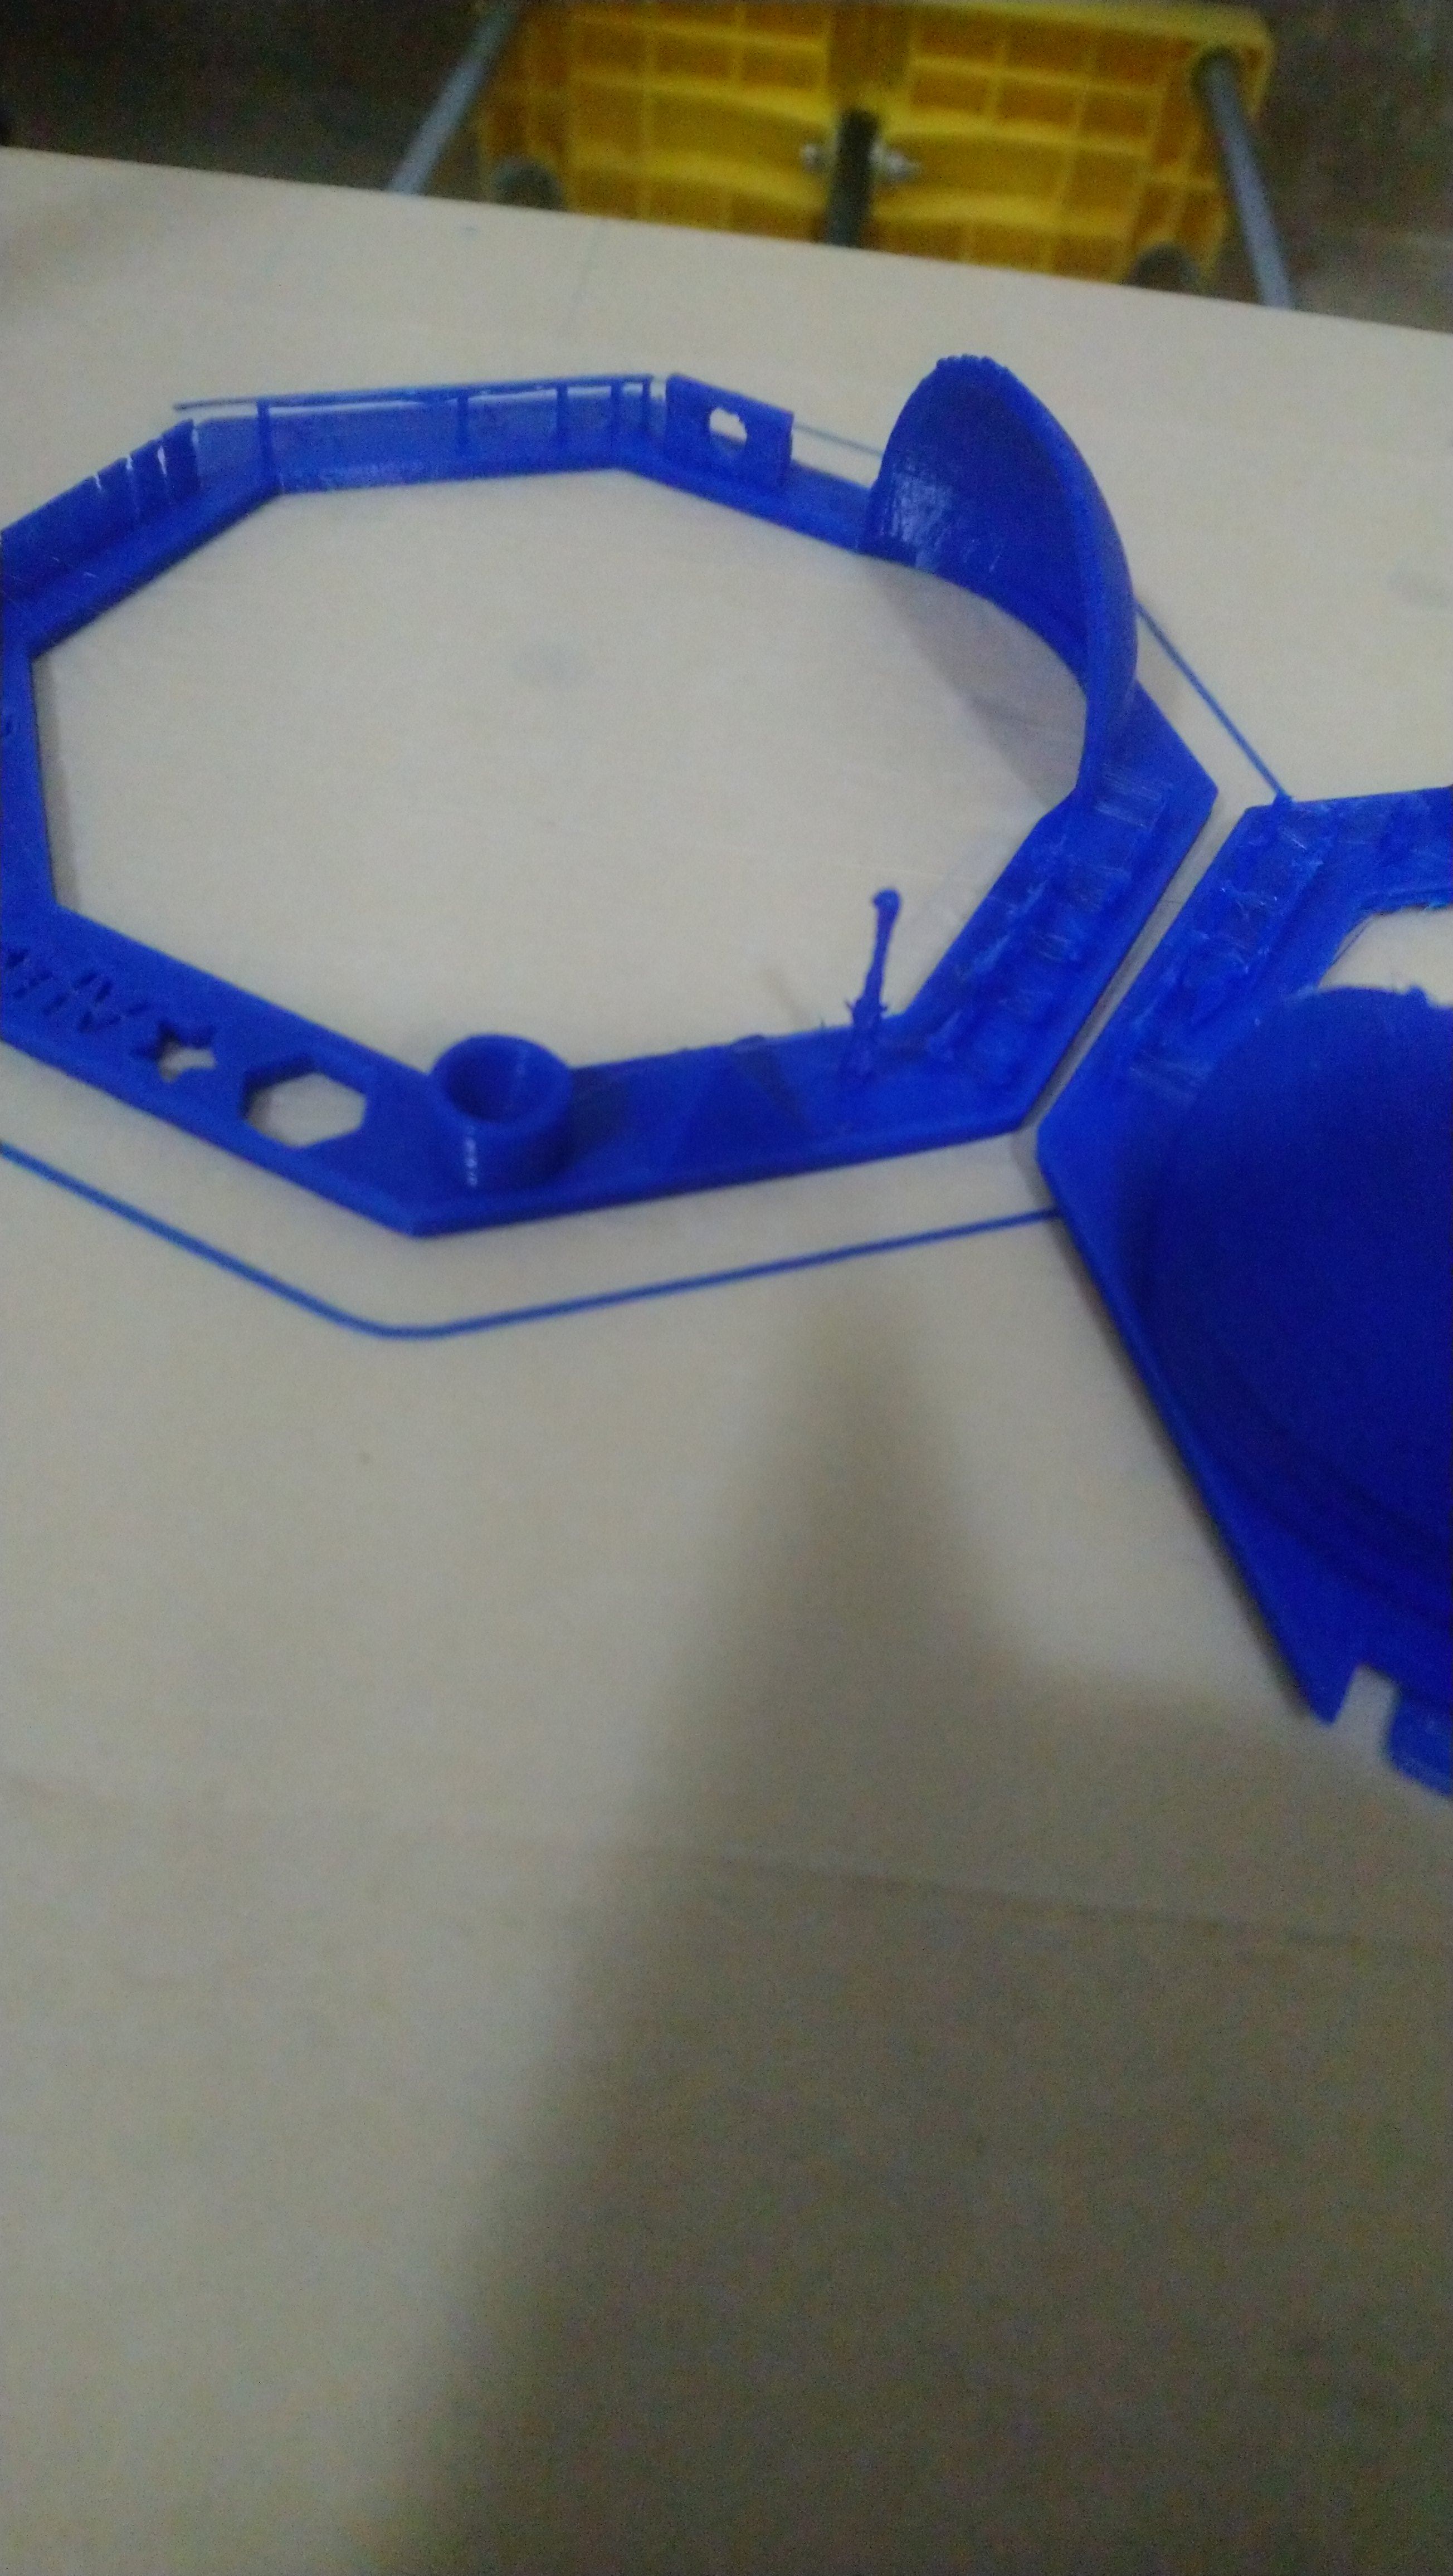
In this close up, you can see that the cup is not shifted over at all, and the words are visible! The clarity of the print is dramatically better as well.
So, how’d I get here? What is the point of this post?
Well, next post I’ll share my configuration file, in case you have a Colido 3D DIY printer, but chances are you don’t. I wanted to put out a few tips for other beginners (like me) who may be ready to throw in the towel on their 3D printer, and hope that it generically helps someone else out.
So, my newbie tips:
- Make sure your belts and gears and motor mounts are tight. If there is any slop or play in them, your pints will turn out bad.
- Double check that the bed is level, mine is ever so slightly warped, so I found one corner I don’t use for prints. Instead I move the object to be printed to the other corner, which is flat.
- If, like me, your printer is not one of the select-able options in the list of printers, be sure to reference your manual for the printer details to put into the slicing program you use. I know this seems too easy, but it will give you a better starting point that adjusting all the settings from the default. The default extruder was 0.35 mm, but mine was actually 0.4 mm. So I had a kind of overlap in my prints, or it would melt another part that was already laid.
- Choose the filament settings to match your current filament. Again, seems to easy, but I didn’t realize the first few prints were with “2.85mm” instead of the actual “1.75mm” filament that I really had. This made for wide gaps between things because it thought the filament was wider, and would feed less to the extruder.
- Once every thing is set per your machine and filament, now you need to start adjusting the settings one at a time, performing a print, and then seeing the results. For me, I made a small 10 mm block with an angled cut across the face to print dozens of times and see the differences, before moving on to bigger and finer prints.
- Don’t be afraid to waste some filament. If you don’t do it now, you will be wasting it later on bad prints.
- If you change filaments between prints, I found that it actually completely changed to game. Switching between two brands seemed (for me) to change the quality of the print. Stick with one filament brand, to keep things simple. I’m not sure if changing colors within a brand matter, because I changed brand and color all at once, which had a dramatic impact on my print and required more adjustment.
- For me, slower speeds seems to make a better print. Faster print speeds make sloppy prints, probably due to my low cost, low grade printer. Remember, “fast is slow” because you will waste time reprinting bad prints.
- You don’t need to make an object fill solid to make an object feel solid. Having 3 top, bottom, and wall layers that are solid will really make a part rigid while keeping the internal fill down.
- That said, I prefer higher fills than recommended, like 40% rather than 20-30% as recommended.
- Temperature matters. My filament says 180-210 degrees. The print quality is best for me at 195 degrees. I don’t know if it happens to be in the middle or if the middle temperature is always best, because I don’t have enough to try. But, making it too hot will make it impossible to remove from the platform and can make bridge areas kind of droopy. Having it too cold will make the layers stand out as separate.
Your mileage may vary, but I want to encourage other newbies like me that good prints can be made. If your prints turn out poor, spend a little more time adjusting your slicing software, because it will make a difference.
Linux – keep it simple.